SUPPORT

FAQ
How to restart unit if problems encountered/ Maintenance Mode
- If you are having these issues with your Youview box the next thing we need to try is a Maintenance Mode software Reset.
- If this doesn't work then you will need to repeat the process, but, then try a Maintenance Mode Factory Reset delete Recordings.
- Please note below instructions for the all Youview models.
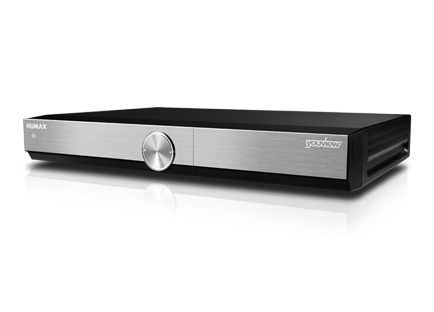
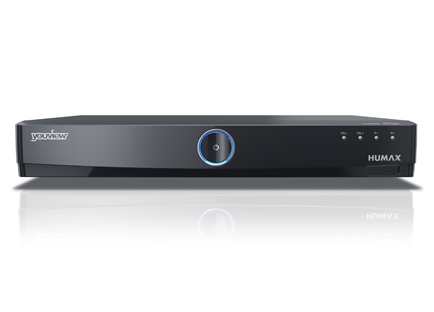
* Maintenance Mode Instructions – T1000, T1010 and T2000 models
These are instructions on how to enter the maintenance mode on the Youview box, and get the unit up and running again.
Before you start you will need to make sure everything is connected:
1. The Youview box is plugged into your electricity mains with the mains plug from the Humax. The mains power needs to be in the on position (T2000 needs to have power cable connected).
2. The internet connection from your router, either from a direct Ethernet connection or by Home plug adaptors, needs to be connected to the Ethernet port of the Youview. (Not required for Factory reset options)
3. There will need to be EITHER a HDMI cable or SCART cable connecting from the Humax to the TV.
Upgrade Steps
1. Start with the Youview box powered off from the switch at the back of the unit or mains supply.
2. Power back on the Youview box using the BACK panel power button or mains supply.
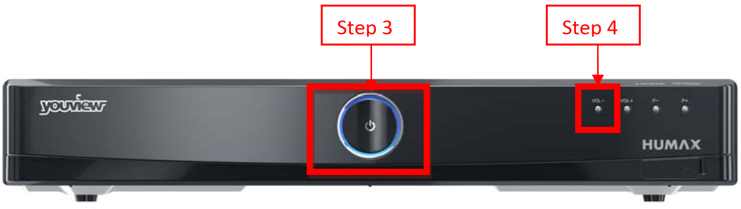
3. When the FRONT circular power button is illuminated with an orange circle, touch the FRONT panel power button once and it will turn blue
4. Immediately touch and hold the "VOL‐" button which can be found on the right of the FRONT panel the first silver button.
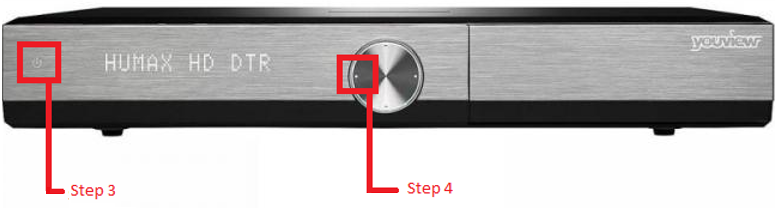
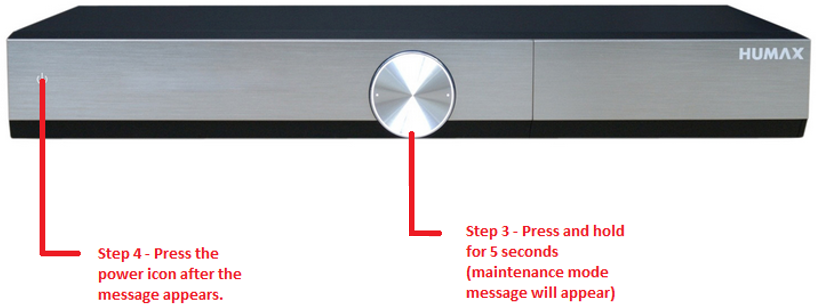
5. Please note – DTR-T1010 and DTR-T2000 models (shown above) are slightly different and require similar steps.
6. DTR-T1010 – See picture above.
7. DTR-T1010 – See picture above.
8. A message saying "Enter Maintenance Mode? Y/N (Yes Press Power)" appears on the TV screen
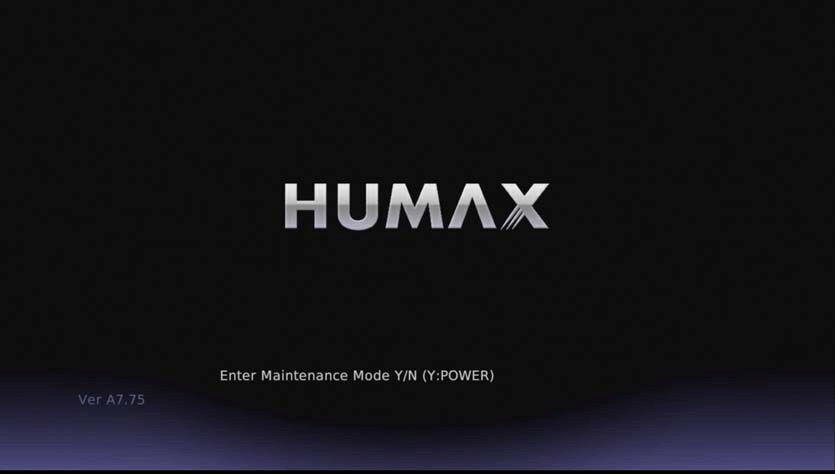
9. You then need to touch the FRONT panel power button once (power icon on T1010 and T2000) and wait for about 1 minute until the maintenance mode screen appears (the Youview box will restart during this step)
10. Using the P+/P‐ buttons on the FRONT panel to move up and down the menu (North, South, East and West buttons on T1010 and T2000), navigate to the 3rd option down "Factory reset delete recordings" (Do not select Internet USB recovery, keep recordings).
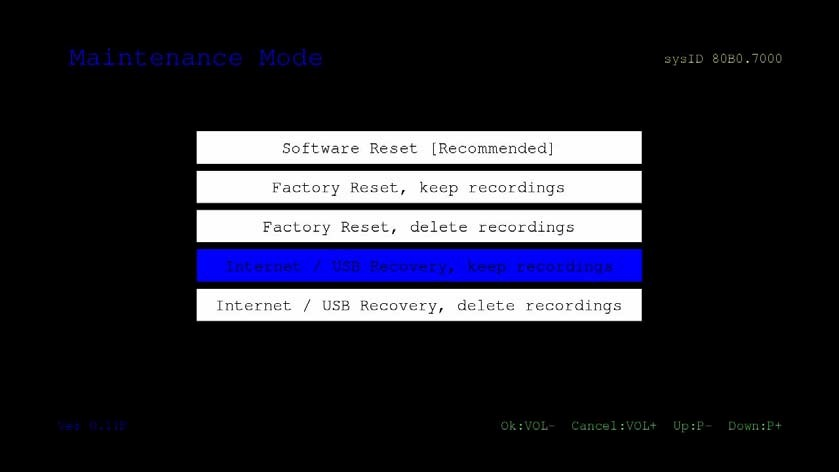
11. Once highlighted touch VOL‐ on the FRONT panel to select this option
12. You will need to touch VOL‐ on the FRONT panel to confirm.
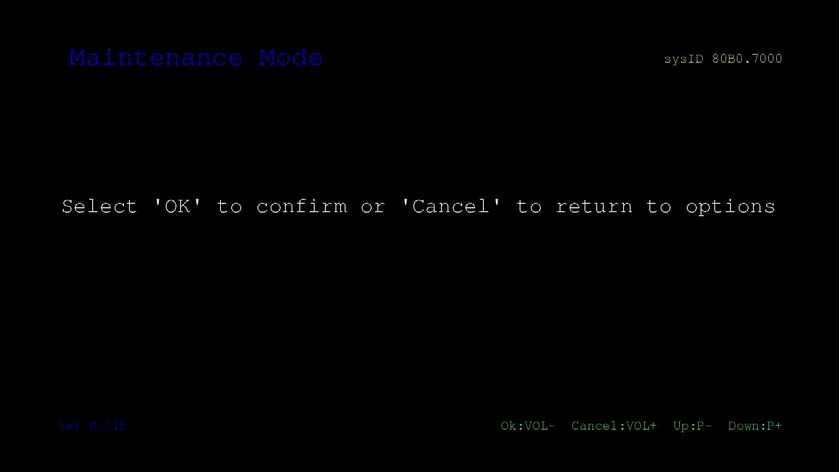
13. The "Downloading..." progress bar appears, the download will depend on your Internet connect speed, please allow 5‐10 minutes.
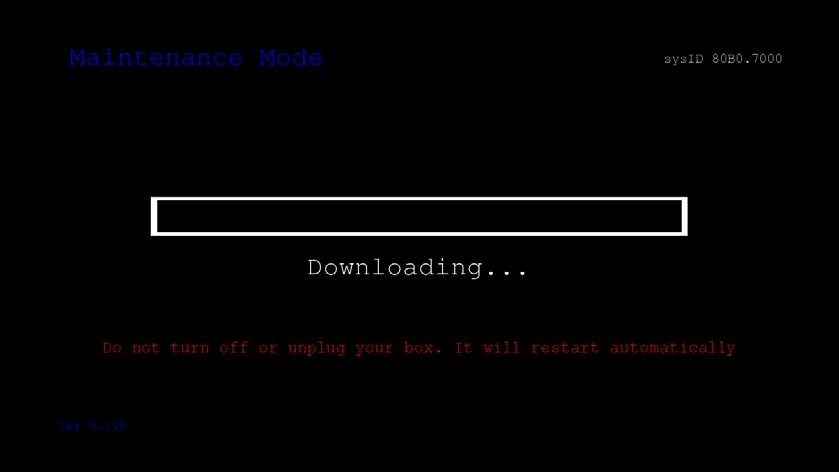
14. Downloading is followed by "Progressing". These two steps together may take up to 15 minutes to complete.
Warning: Do not switch off the product or disconnect from the Internet during the Download process.
Note: If through this process the Youview box shows "FAILED! Selected option not completed" on the TV screen then please switch the box OFF using the BACK panel power button or mains and repeat steps 2‐11.
Please make sure that your Youview box is connected to the Internet as a connection is required to download the software.
15. When completed the Youview box will restart and you will see the “Welcome to YouView” screen; allow 2 ½ minutes for the box to start.

16. When completed you can follow the on screen instructions to tune your TV and Radio channels.

Remote clashes with other Humax product
(This is only relevant to the Foxsat HD, HDR, HDCI 5000, HDR 1000/1010/1100S, HB1000S, FVP-4000T, HD/HDR Fox T2 Freeview HD products, incl the HDR 1800/2000T)
1. Switch on your TV set and the Humax product that you wish to change the remote code.
2. Make sure that the other Humax product that you do not wish to control is in Standby or powered OFF at the mains.
3. Point the remote control towards the remote control sensor of the target receiver.
4. Press and hold the 0 and OK buttons simultaneously for approx. 5-10 seconds until the PVR button on the remote stays red.
5. A message will appear on the TV screen:
"You can change the remote control mode.
Press a Numeric Key (<1> ~ <6>) to select the mode
Current mode: Mode 1."
6. Press a NUMERIC button (from 1 to 6) to select a different mode.
7. A message confirming the change of Mode will appear on screen.
Remote control programming and reset
You can programme the remote to operate your TV; it uses the 3 digit codes.
See the download links below:
Attachments
- Programming_Your_Remote.pdf (481.7 KB, 195 downloads) 4 years old
- RM-F04_3_digit.pdf (273.4 KB, 143 downloads)
Auto Delete
2. Auto delete works in the following fashion:
Watched/Part watched are deleted first - in date order oldest first, so be aware you could lose a Part Watched programme if you do not lock it (yellow button)
Is there an Edit Channels option?
Edit channel option now available via guide, press yellow and select channels to hide, and red to restore.
Not a great implementation as you cannot 'unhide' individual channels if you have hidden a few.
Edit - 26/04/2015
See this tip on how to unhide an individual channel
Can we set up Favourites?
Is there a Manual Tuning option?
Padding of timers
Scheduling Timers – are there any options
Programme searches
Edit:
EPG search added with Jan 2013 update.
USB Ports
For presentation of content from USB Drives. No requirement to export content.
Wi-Fi
Can I skip adverts
Skip function now enabled, hard coded for 60 secs forward and 15 seconds back.
Can I select multiple recordings to delete?
However, the actual deleting of programmes on this unit is a quick process.
Edit: March 2015 update now includes series folder delete.
Is there a folders option?
Folders option now available - Generated automatically for series record timers. No manual folder option is available.
DTR T10*0 Power consumption, boot times
Power consumption in standby: Less than 1 Watt
Update 30 October 2012 Reduced boot time to 1 minute 46 Seconds.
Shut down to full standby: 6 mins 7 secs Feb update now 7mins 2 secs
Eco Mode High - with RF Loop thru enabled:
Power consumption in standby: 4 Watts
Boot up time: 1 min 57 secs
Eco Mode Low:
Power consumption in standby: 16.2 W
Boot up time: 26 secs
Random channel and volume changes
A few users report moving the unit further away from the TV has cured the problem.
HDMI CEC known as by manufacturer
Hitachi - HDMI-CEC
LG - SimpLink
Onkyo - RIHD (Remote Interactive over HDMI)
Panasonic - Viera Link
Philips - EasyLink
Pioneer - Kuro Link
Samsung - Anynet+
Sharp - Aquos Link
Sony - Bravia Link & Bravia
Toshiba - CE-Link & Regza Link
Mitsubishi – NetCommand
No picture, blank screen – try changing resolution
Help
720
OK
Random channel and volume changes
A few users report moving the unit further away from the TV has cured the problem.
Can I record on demand content?
Update 30 October 2012
Folders option now available - Generated automatically for series record timers. No manual folder option is available.
Can I select multiple recordings to delete?
However, the actual deleting of programmes on this unit is a quick process.
Edit: March 2015 update now includes series folder delete.
Can I skip adverts?
Skip function now enabled, hard coded for 60 secs forward and 15 seconds back.
How to restart unit if problems encountered/ Maintenance Mode
Edit: 05 Sep 2014, link amended.
There is a Maintenance mode whereby usb updates; reset of unit etc. can be carried out see: