
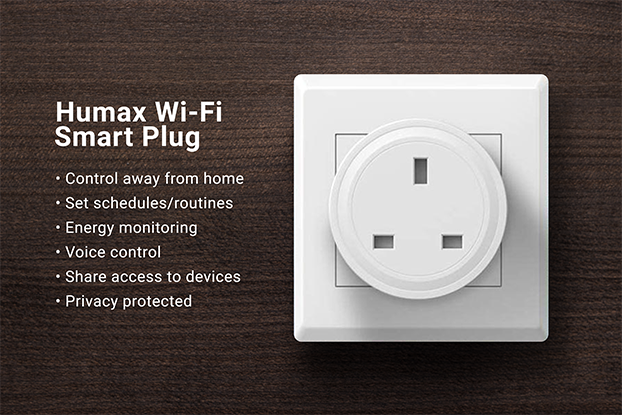
Humax Wi-Fi Smart Plug
As we all look for ways to save costs in our home, some appliances use a lot more energy than you’d expect. The Humax Wi-Fi Smart Plug makes it easy to keep track of usage around the home.
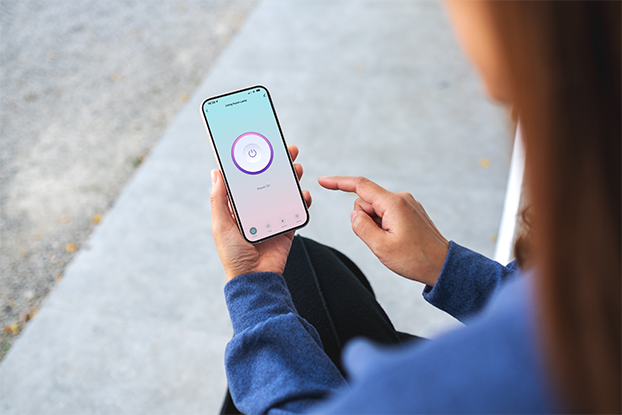
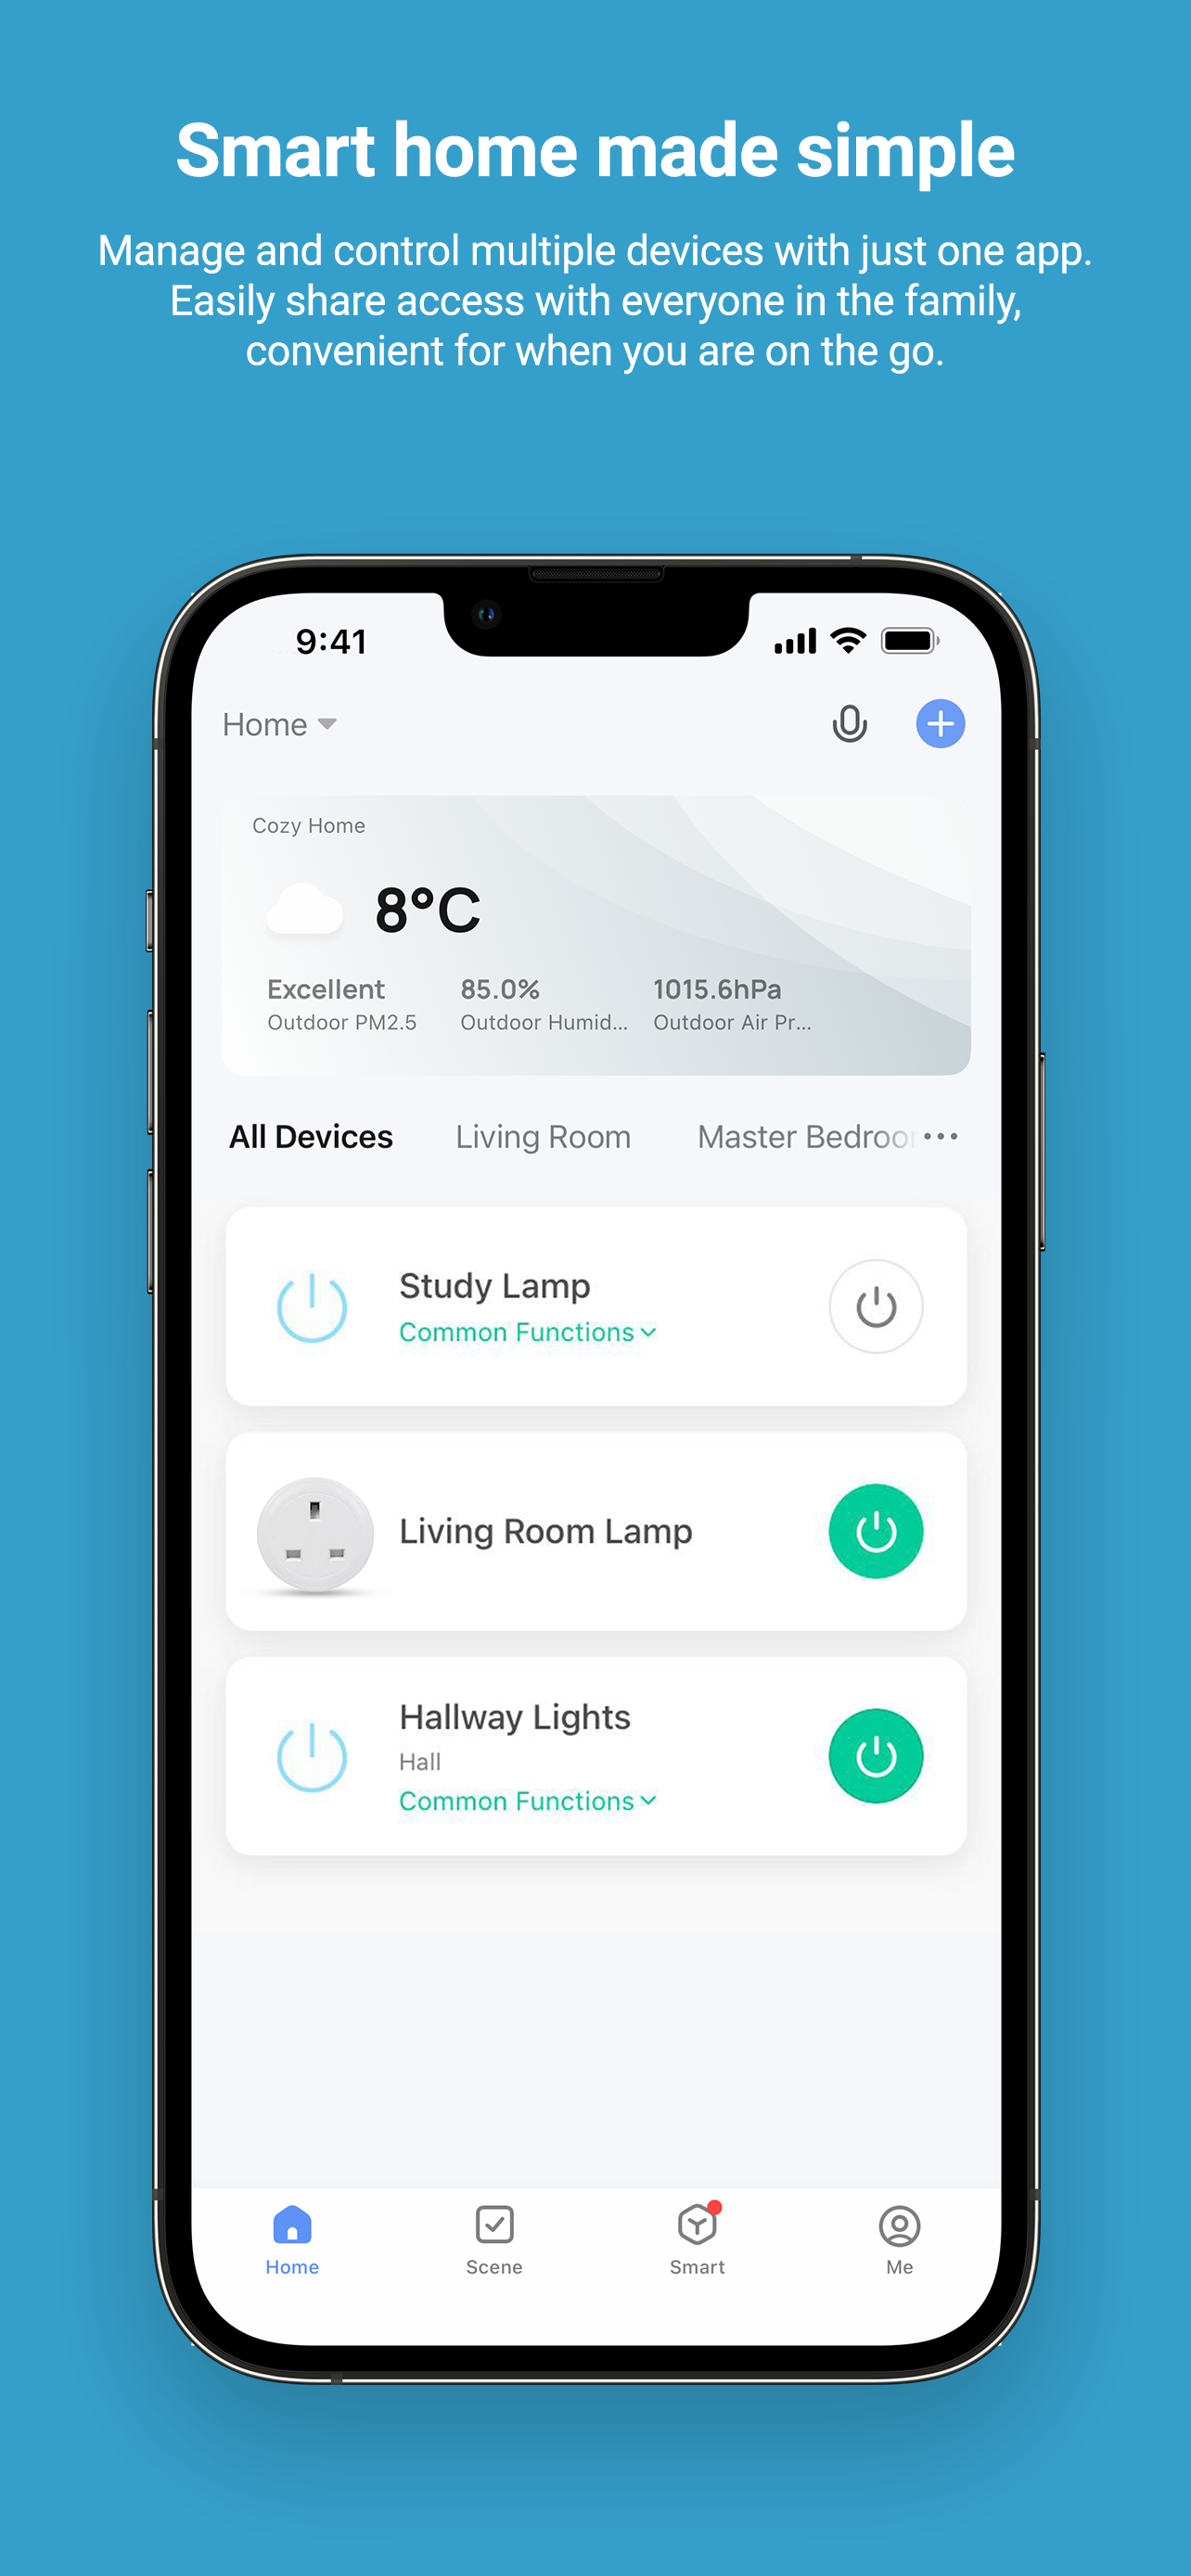
From simply turning your appliances on and off, to keeping an eye on your energy consumption – set up, manage and control all your connected devices through the easy to use Humax Smart Living app.
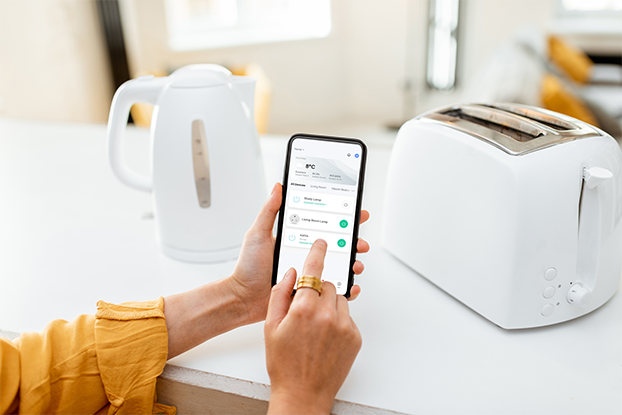
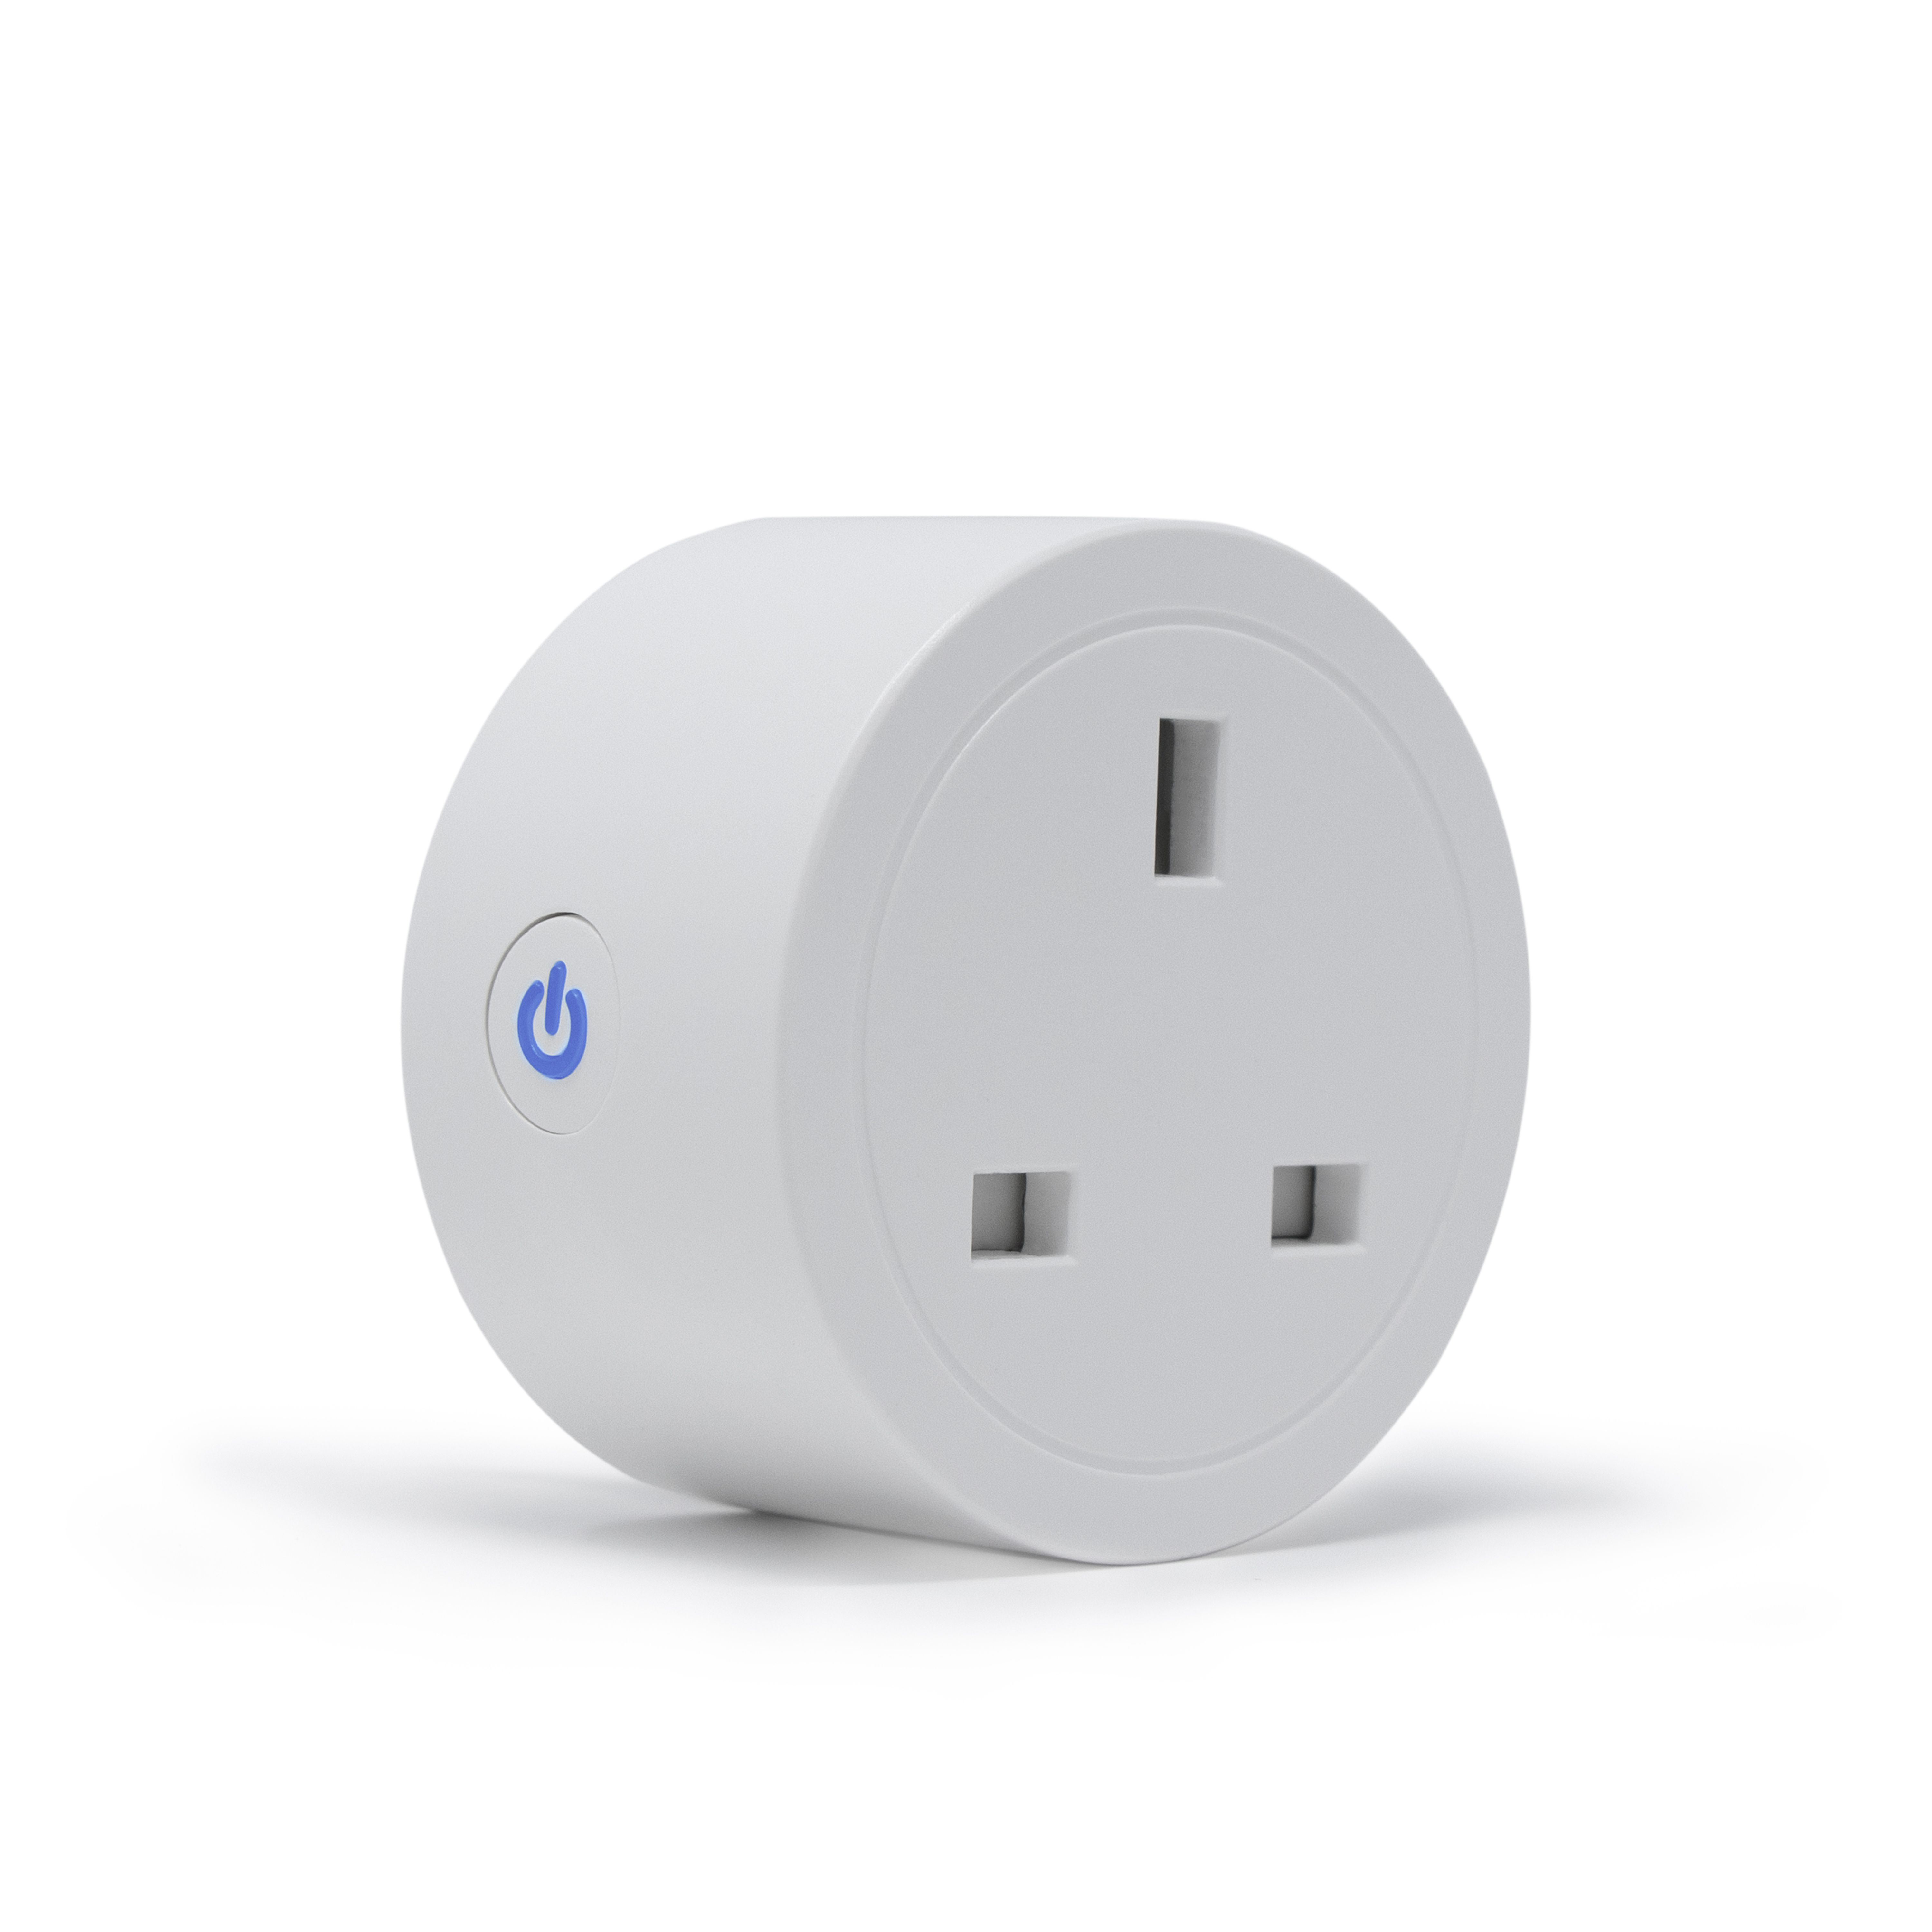
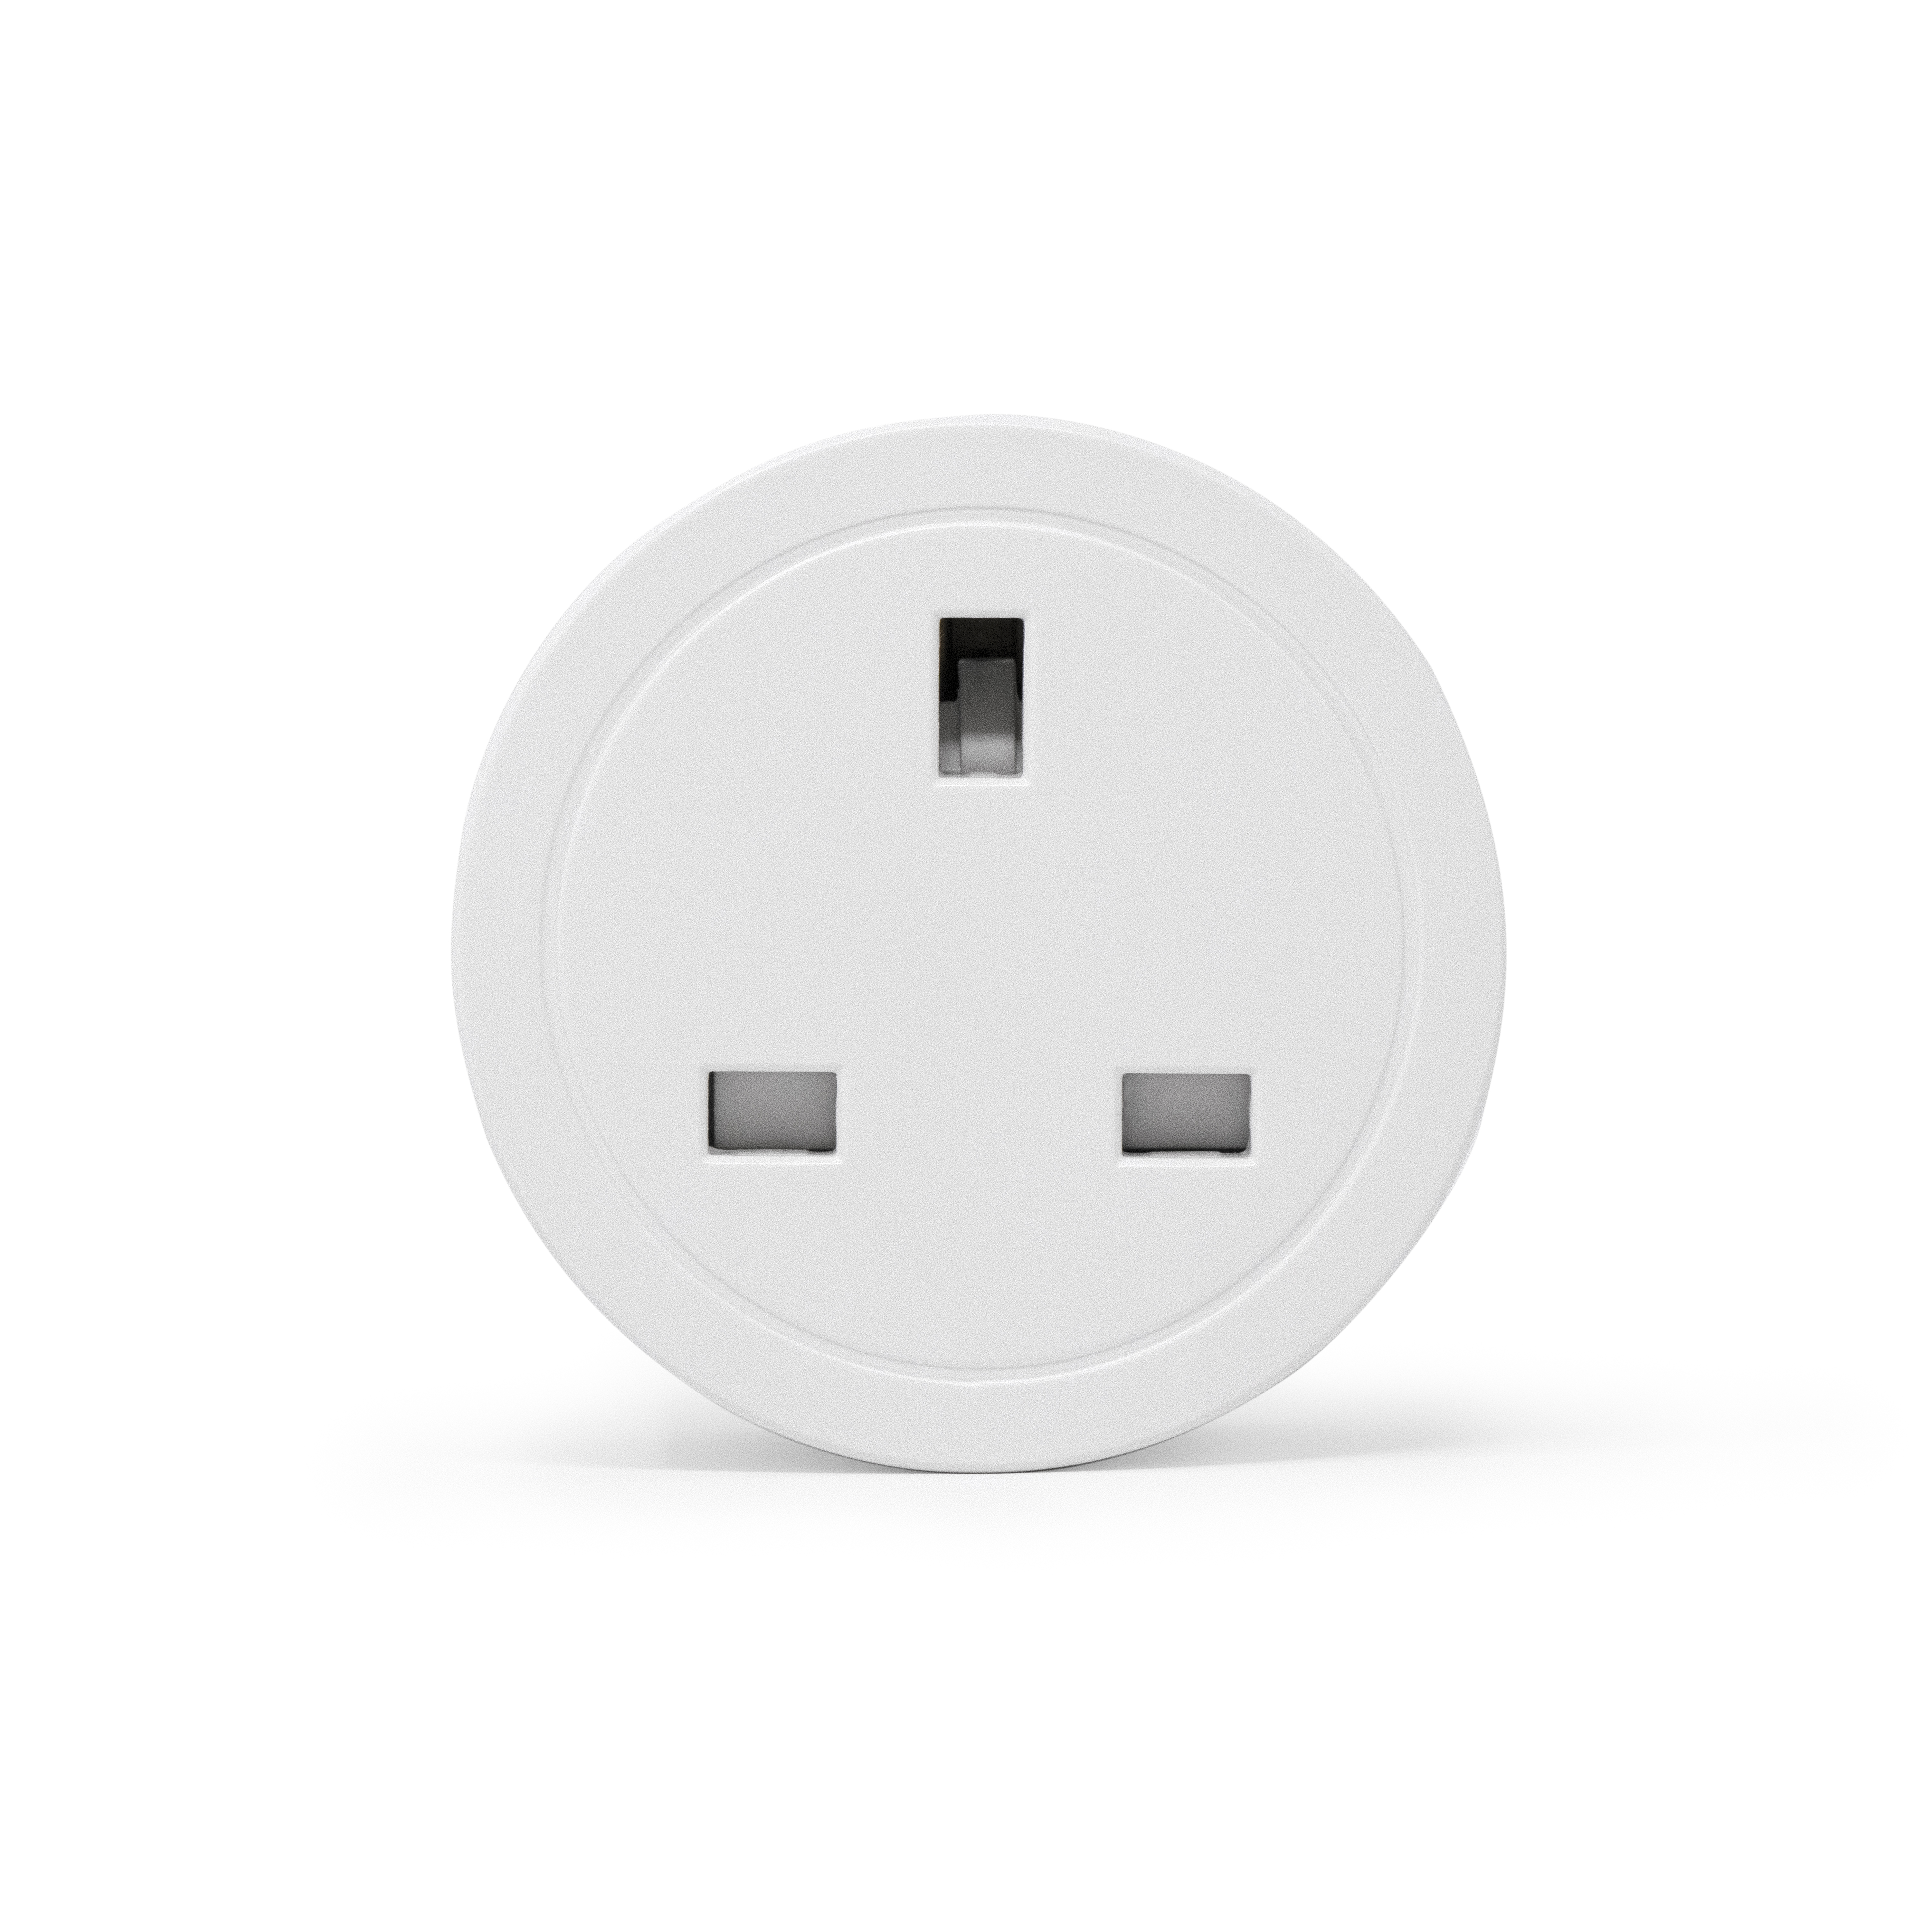
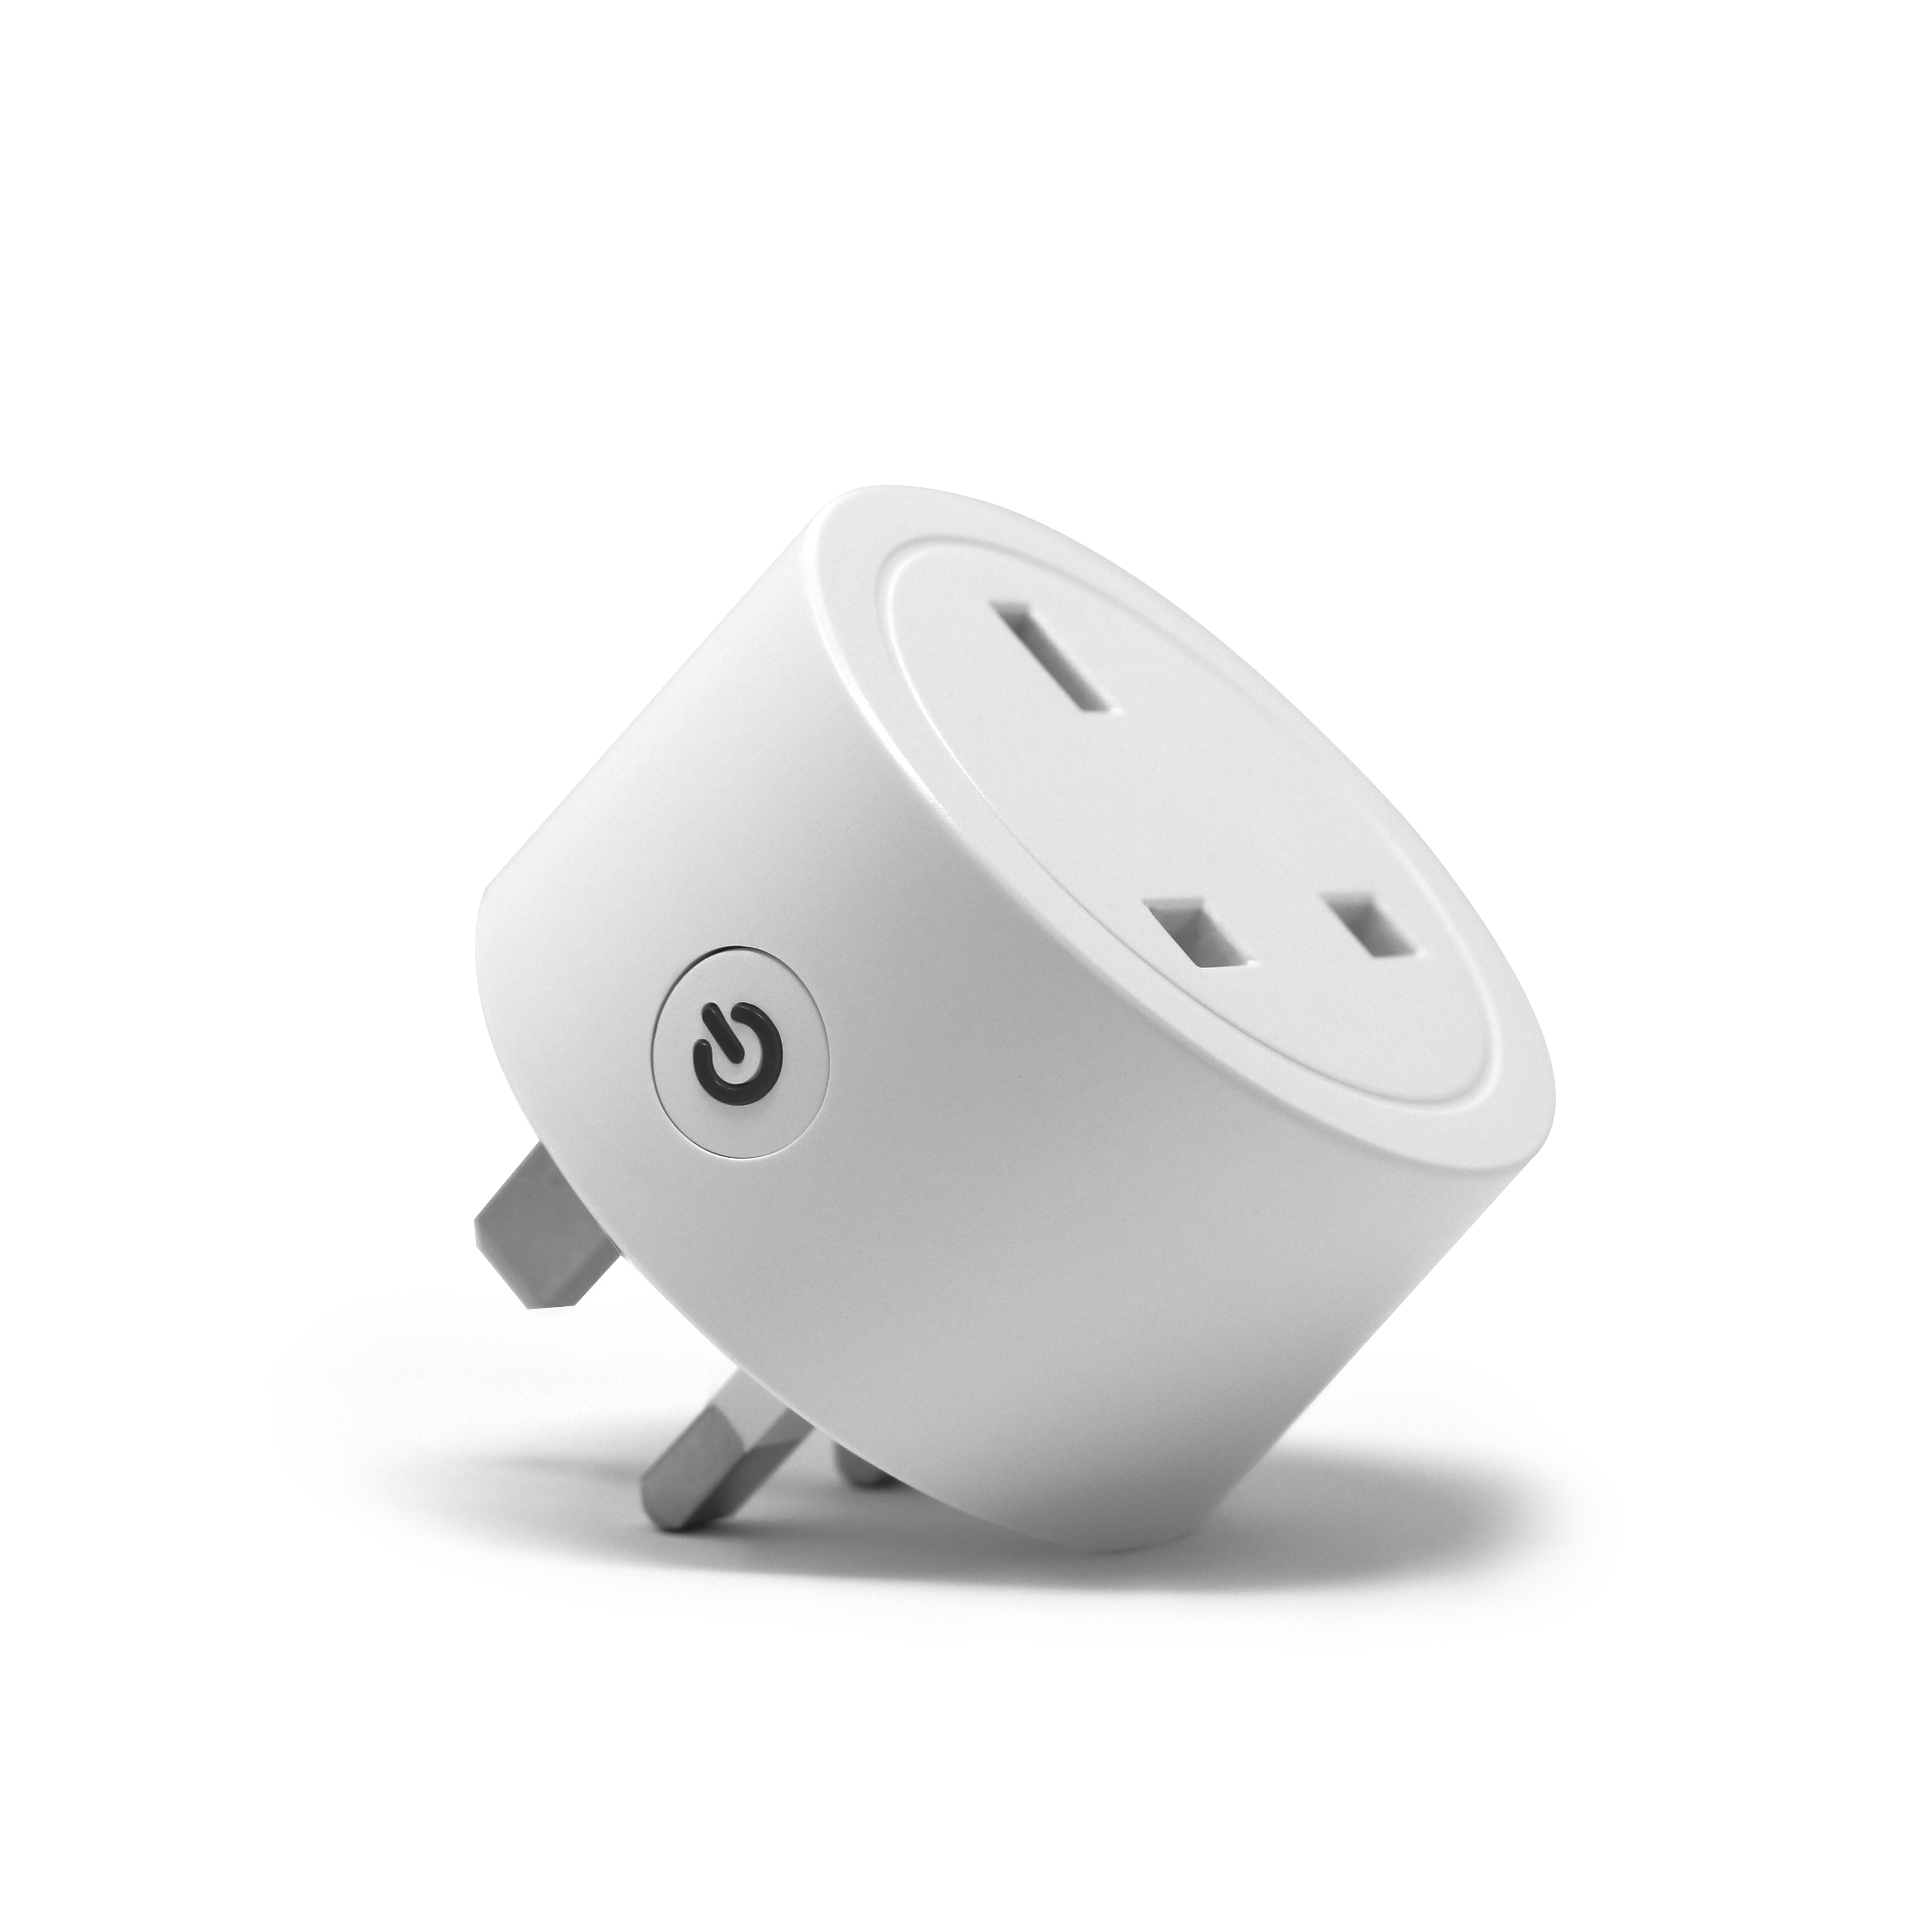
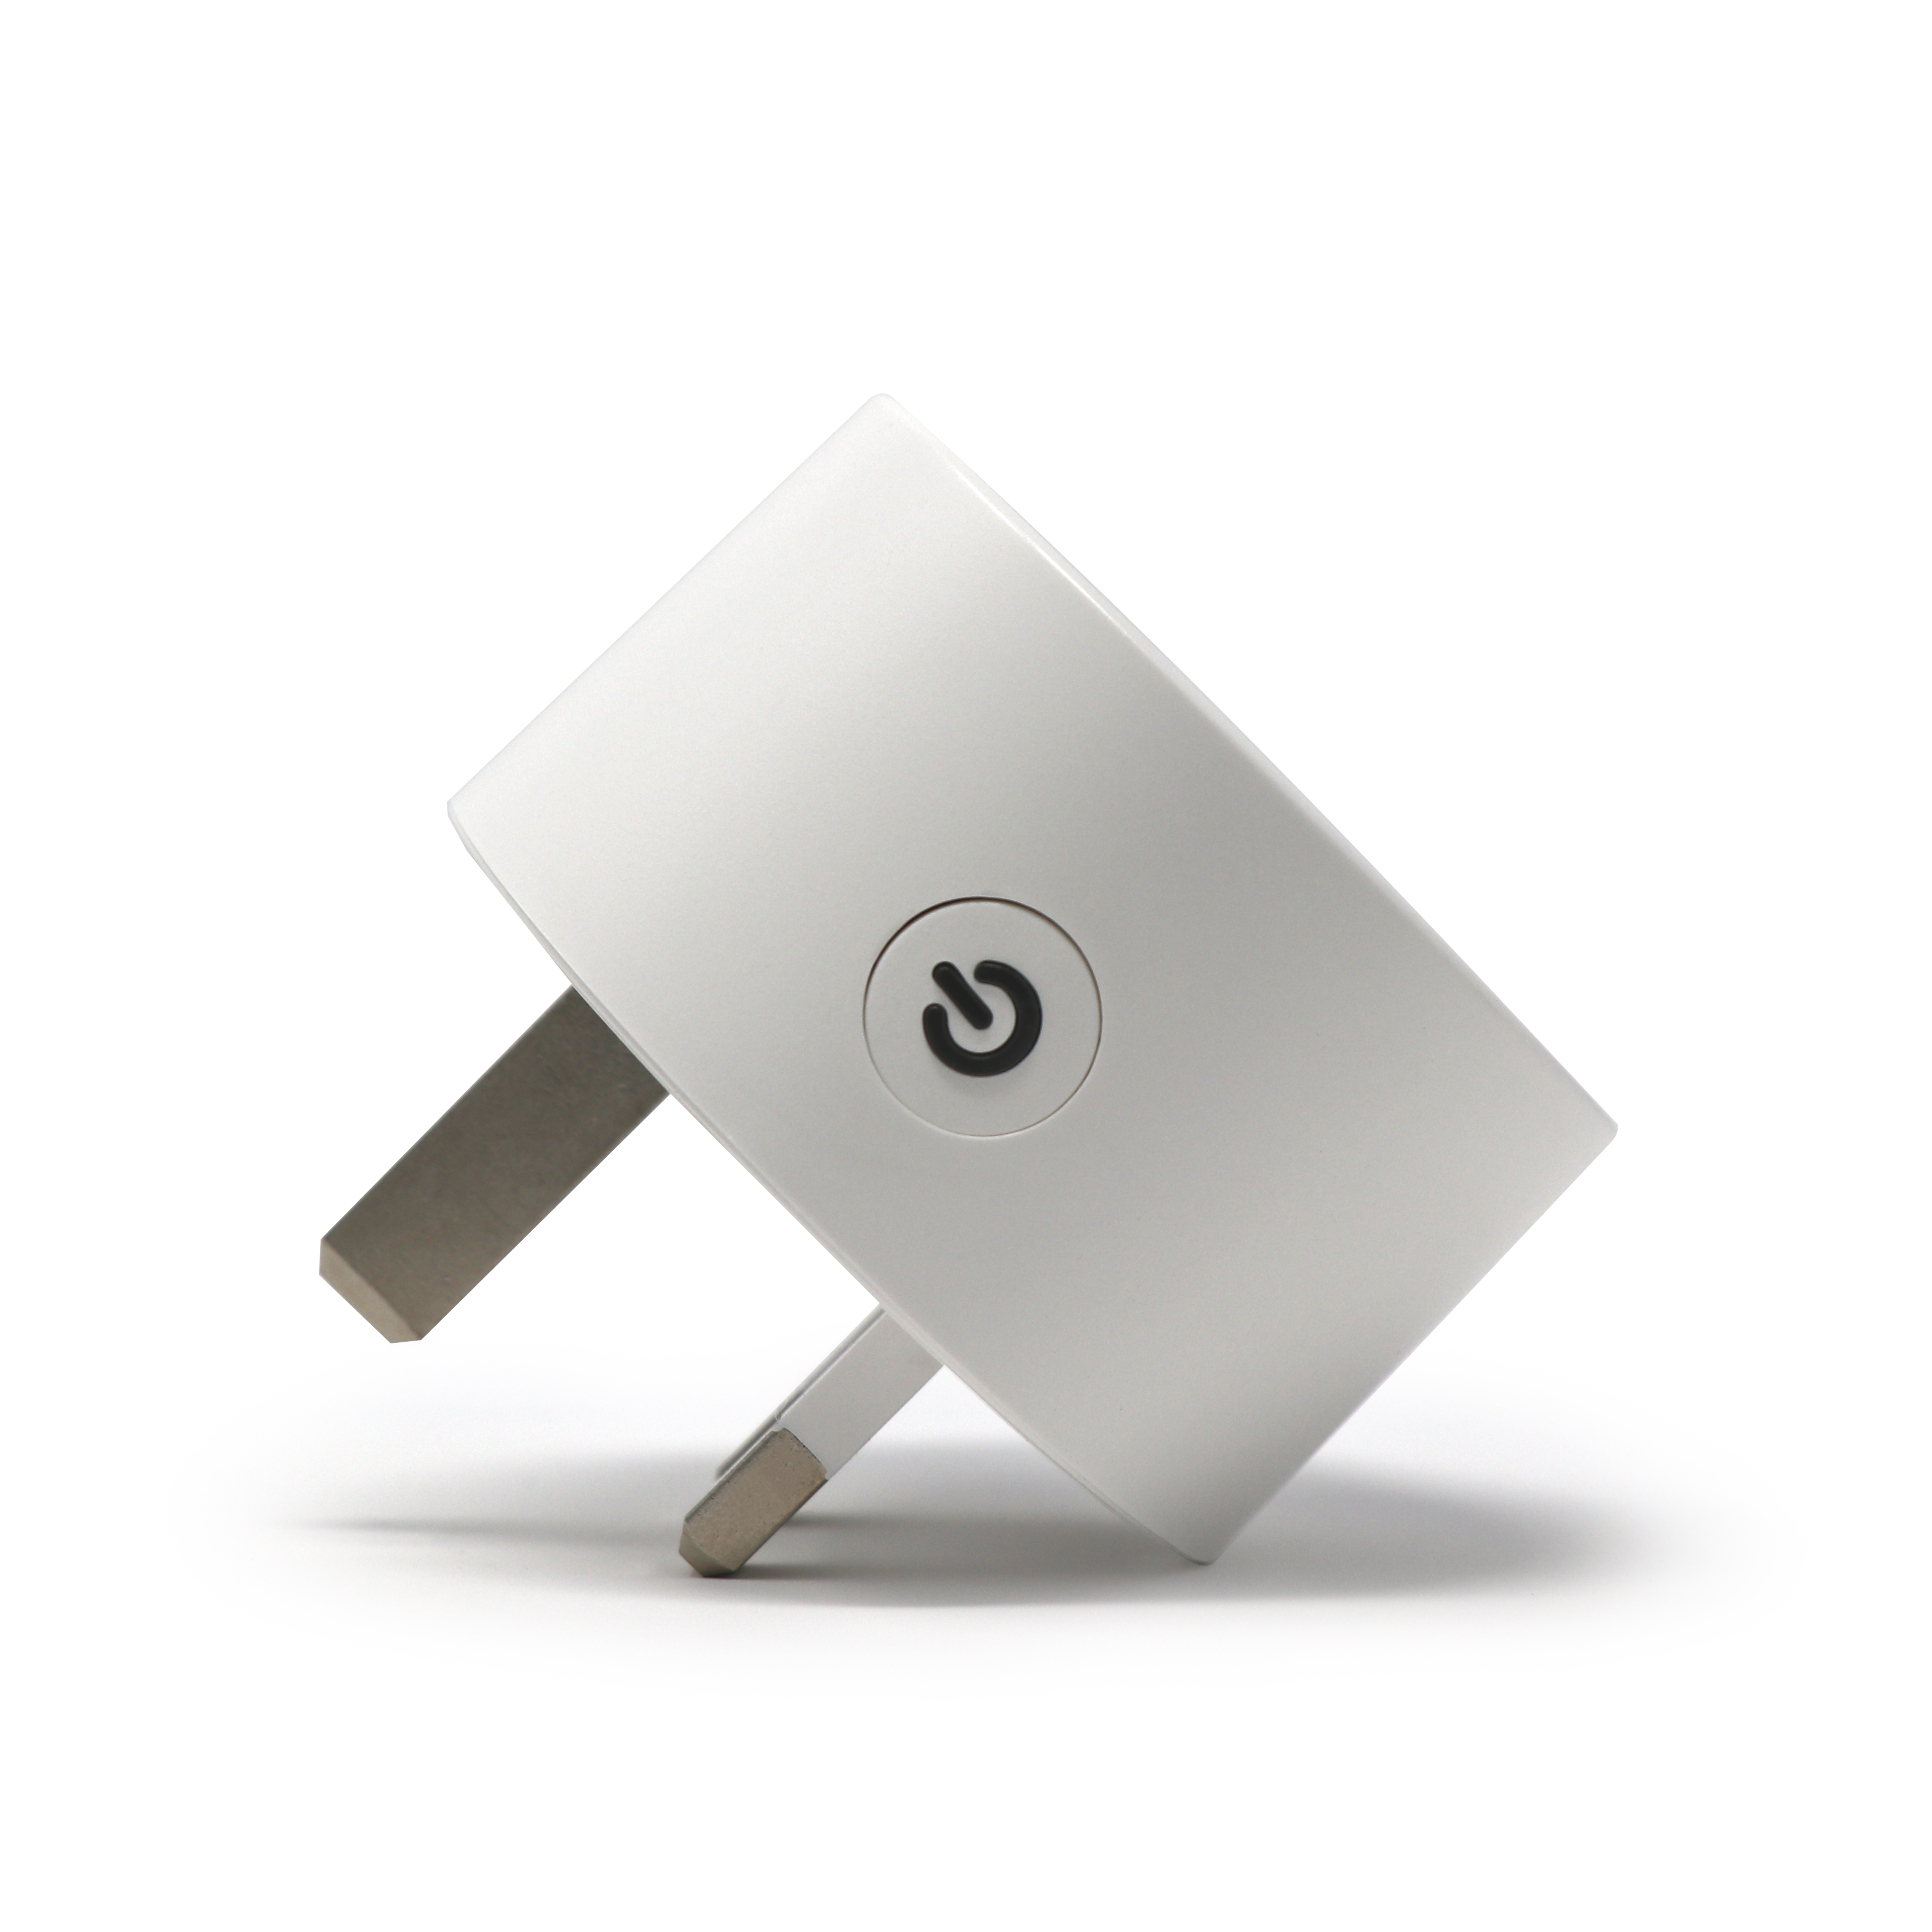
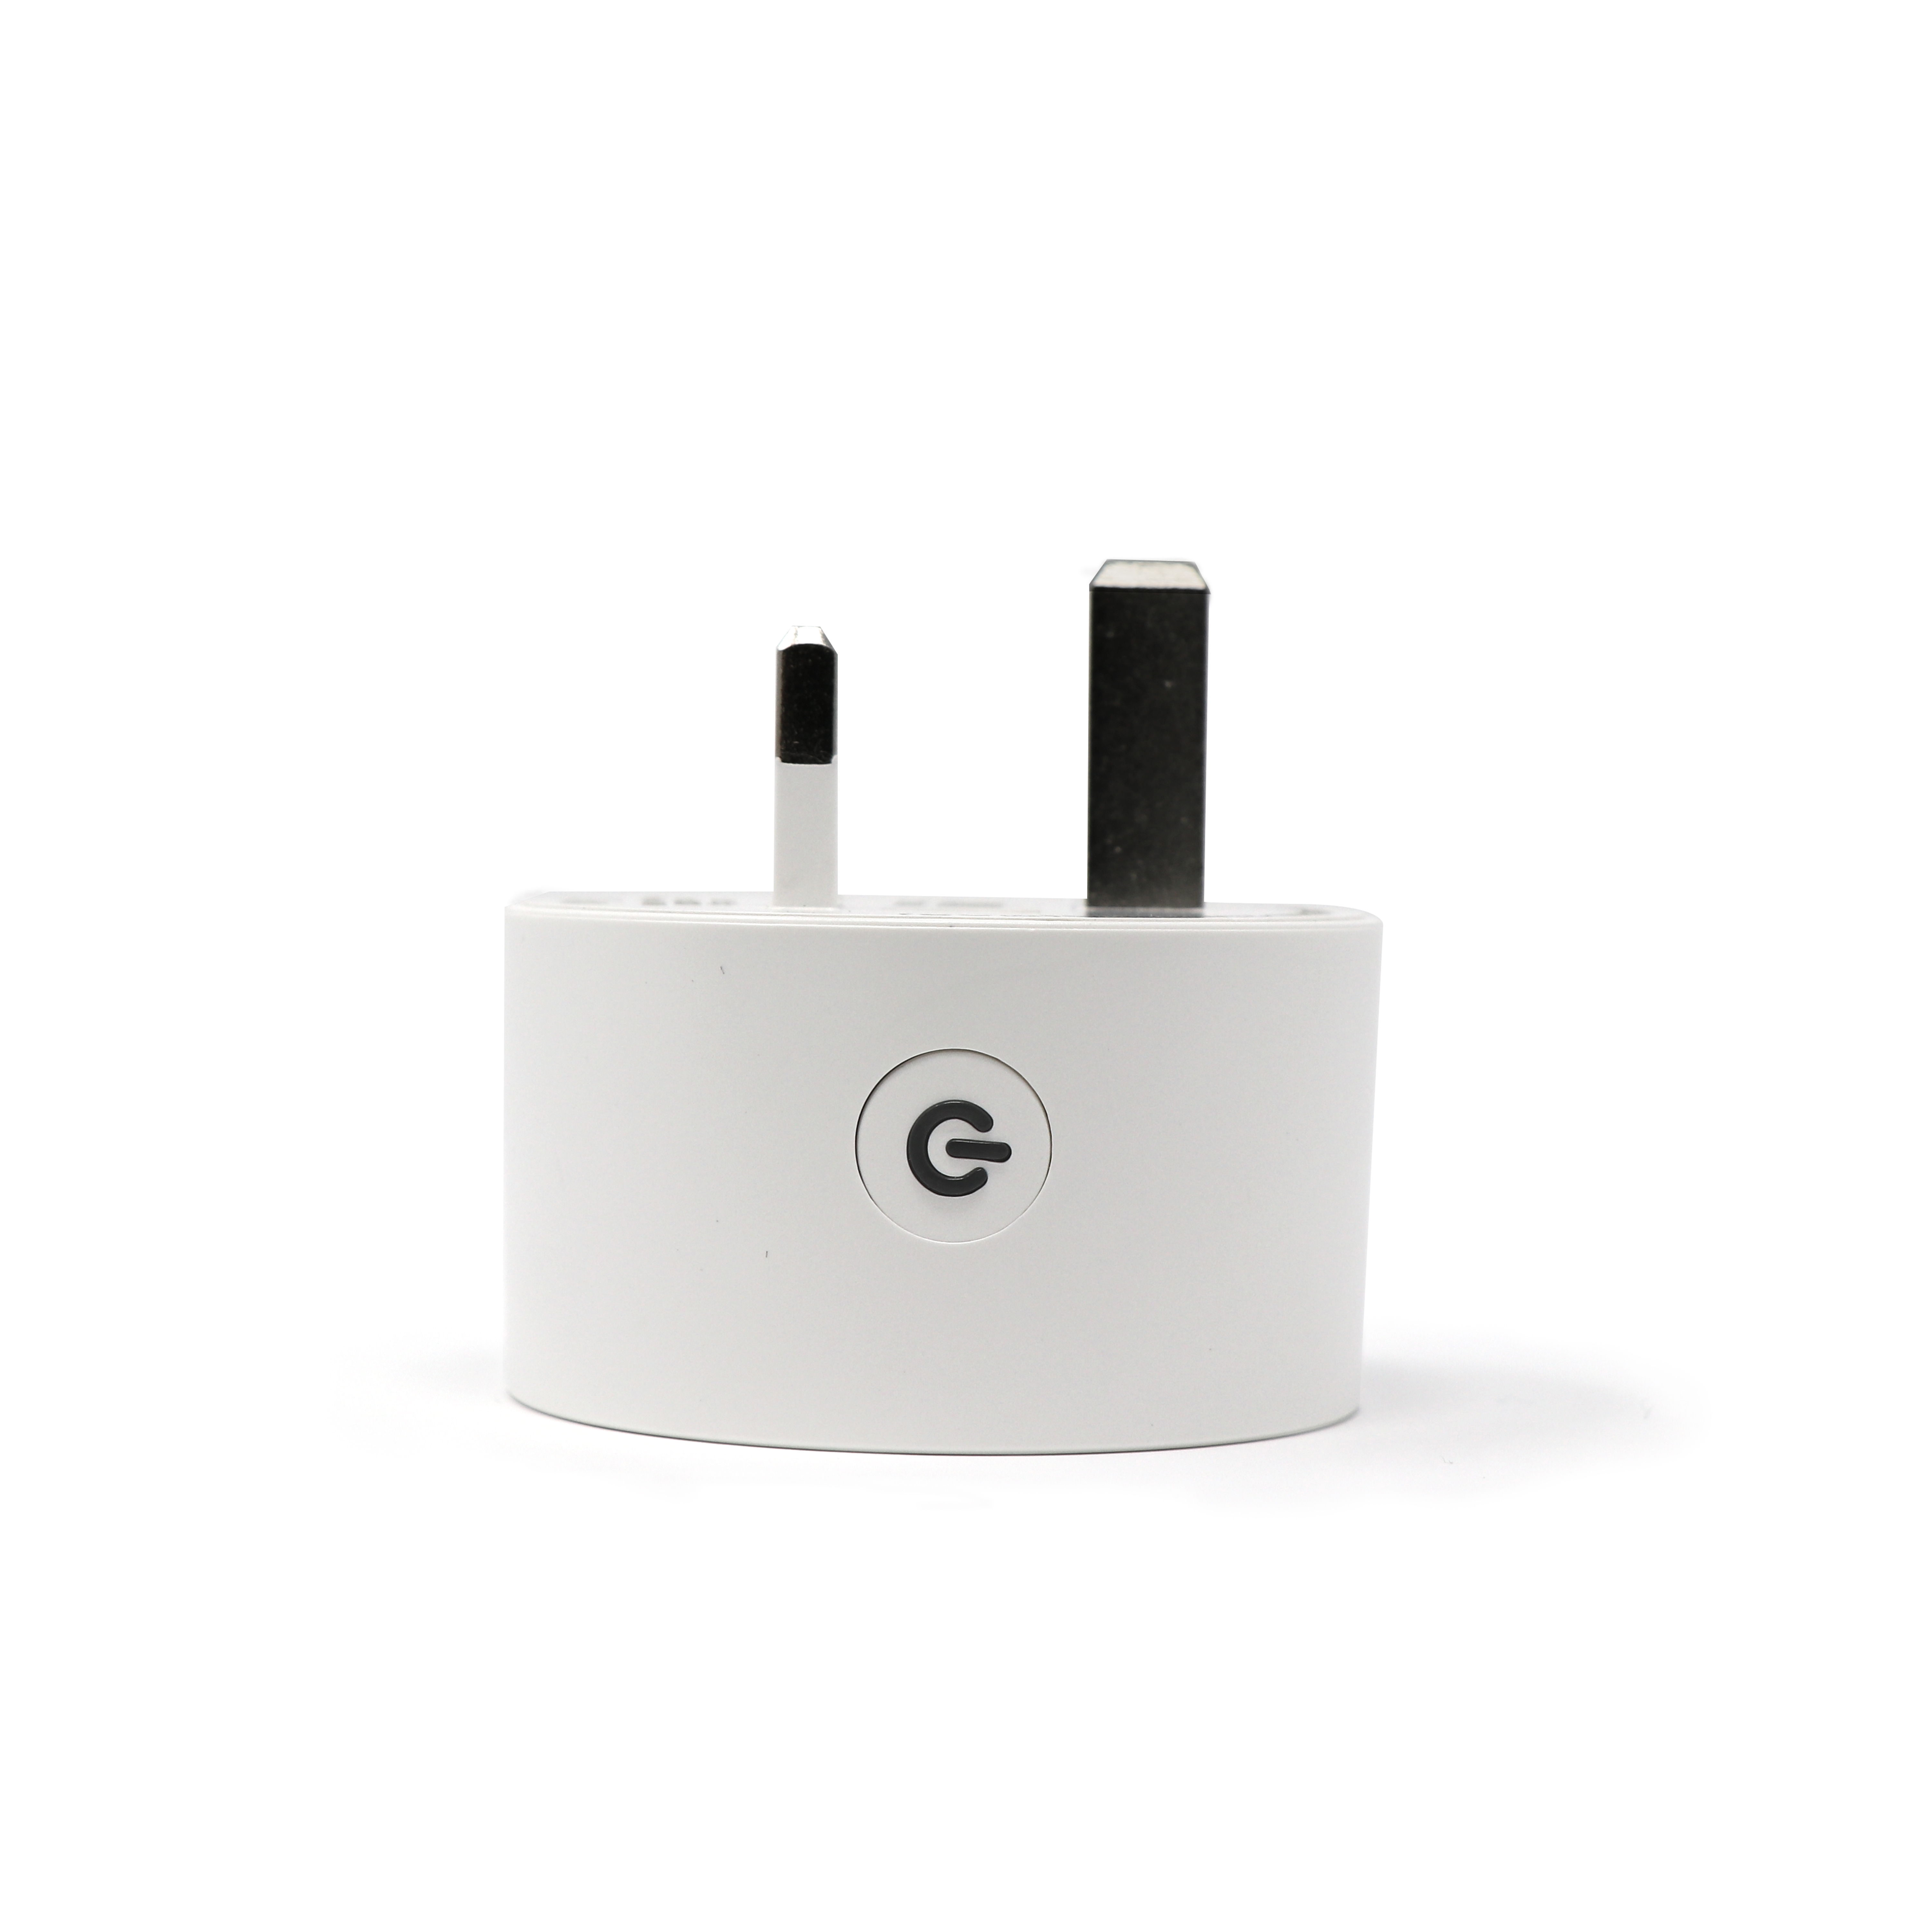
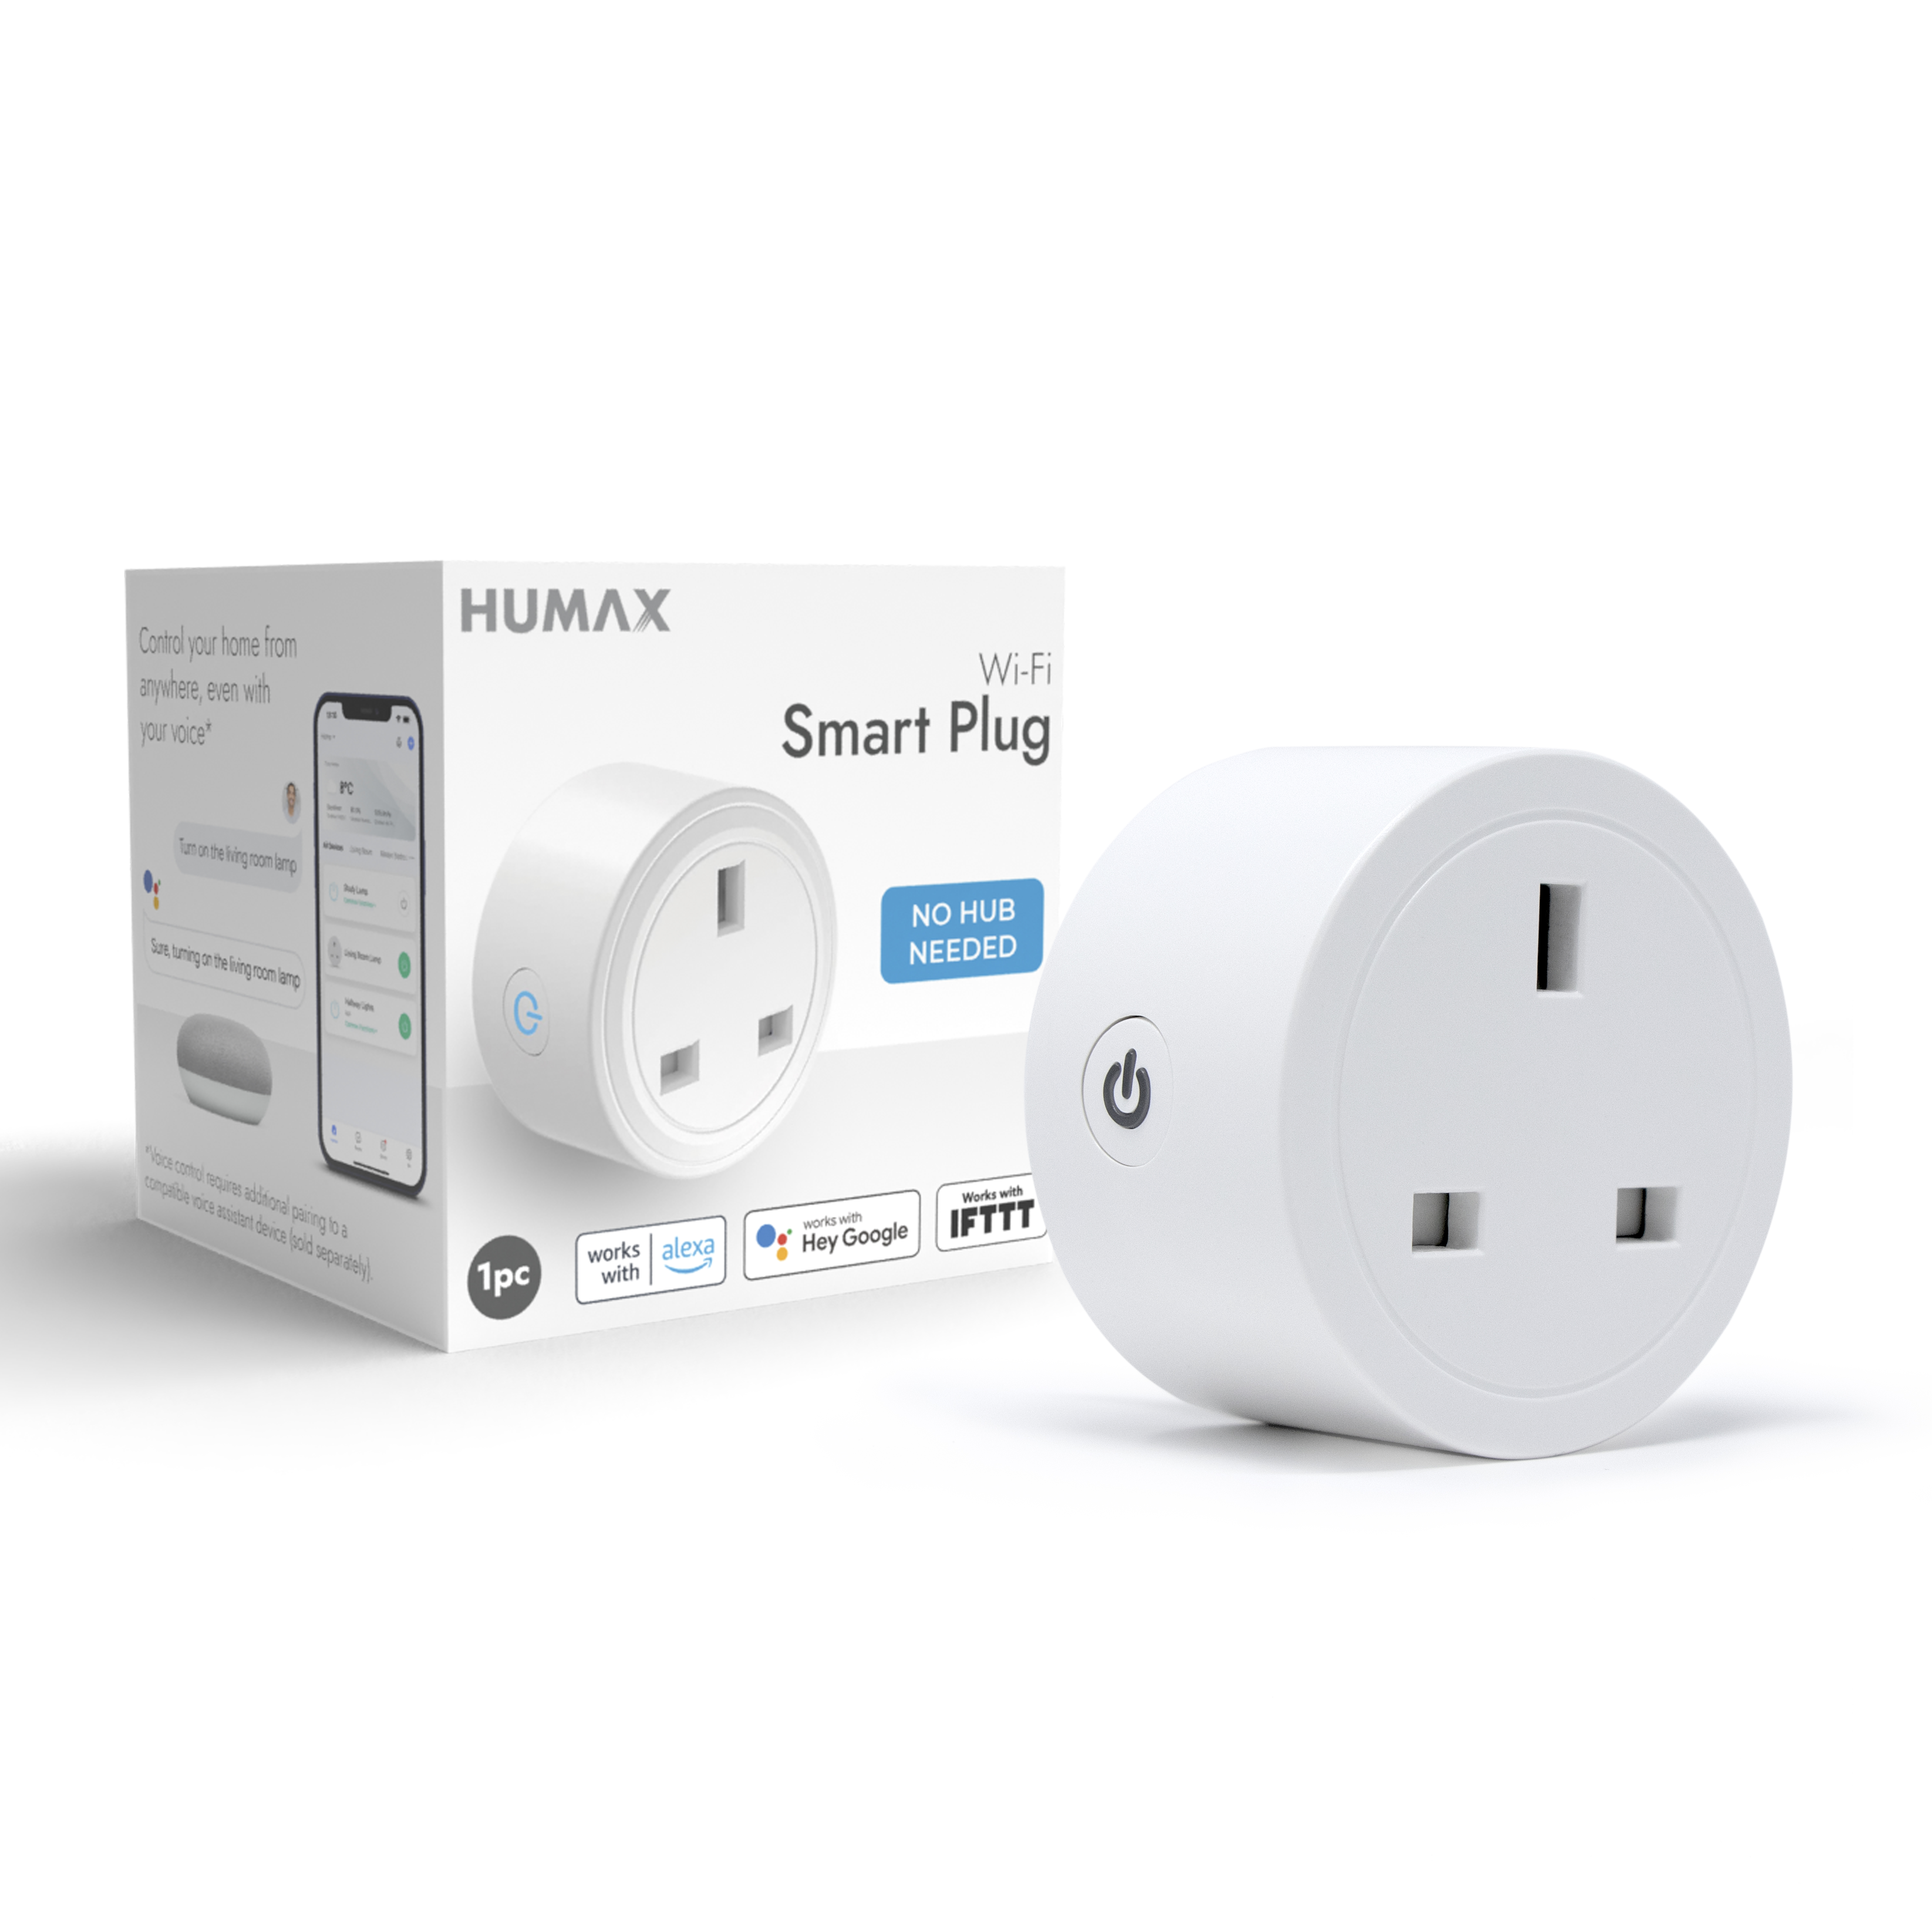
Wi-Fi Smart Plug
This neat, UK 3 pin adapter can be plugged into any wall outlet. Once connected to a Wi-Fi network, using the Humax Smart Living app you can instantly gain remote control over your connected appliances by turning them on and off, setting schedules and timers and even keeping an eye on energy usage.
![]()
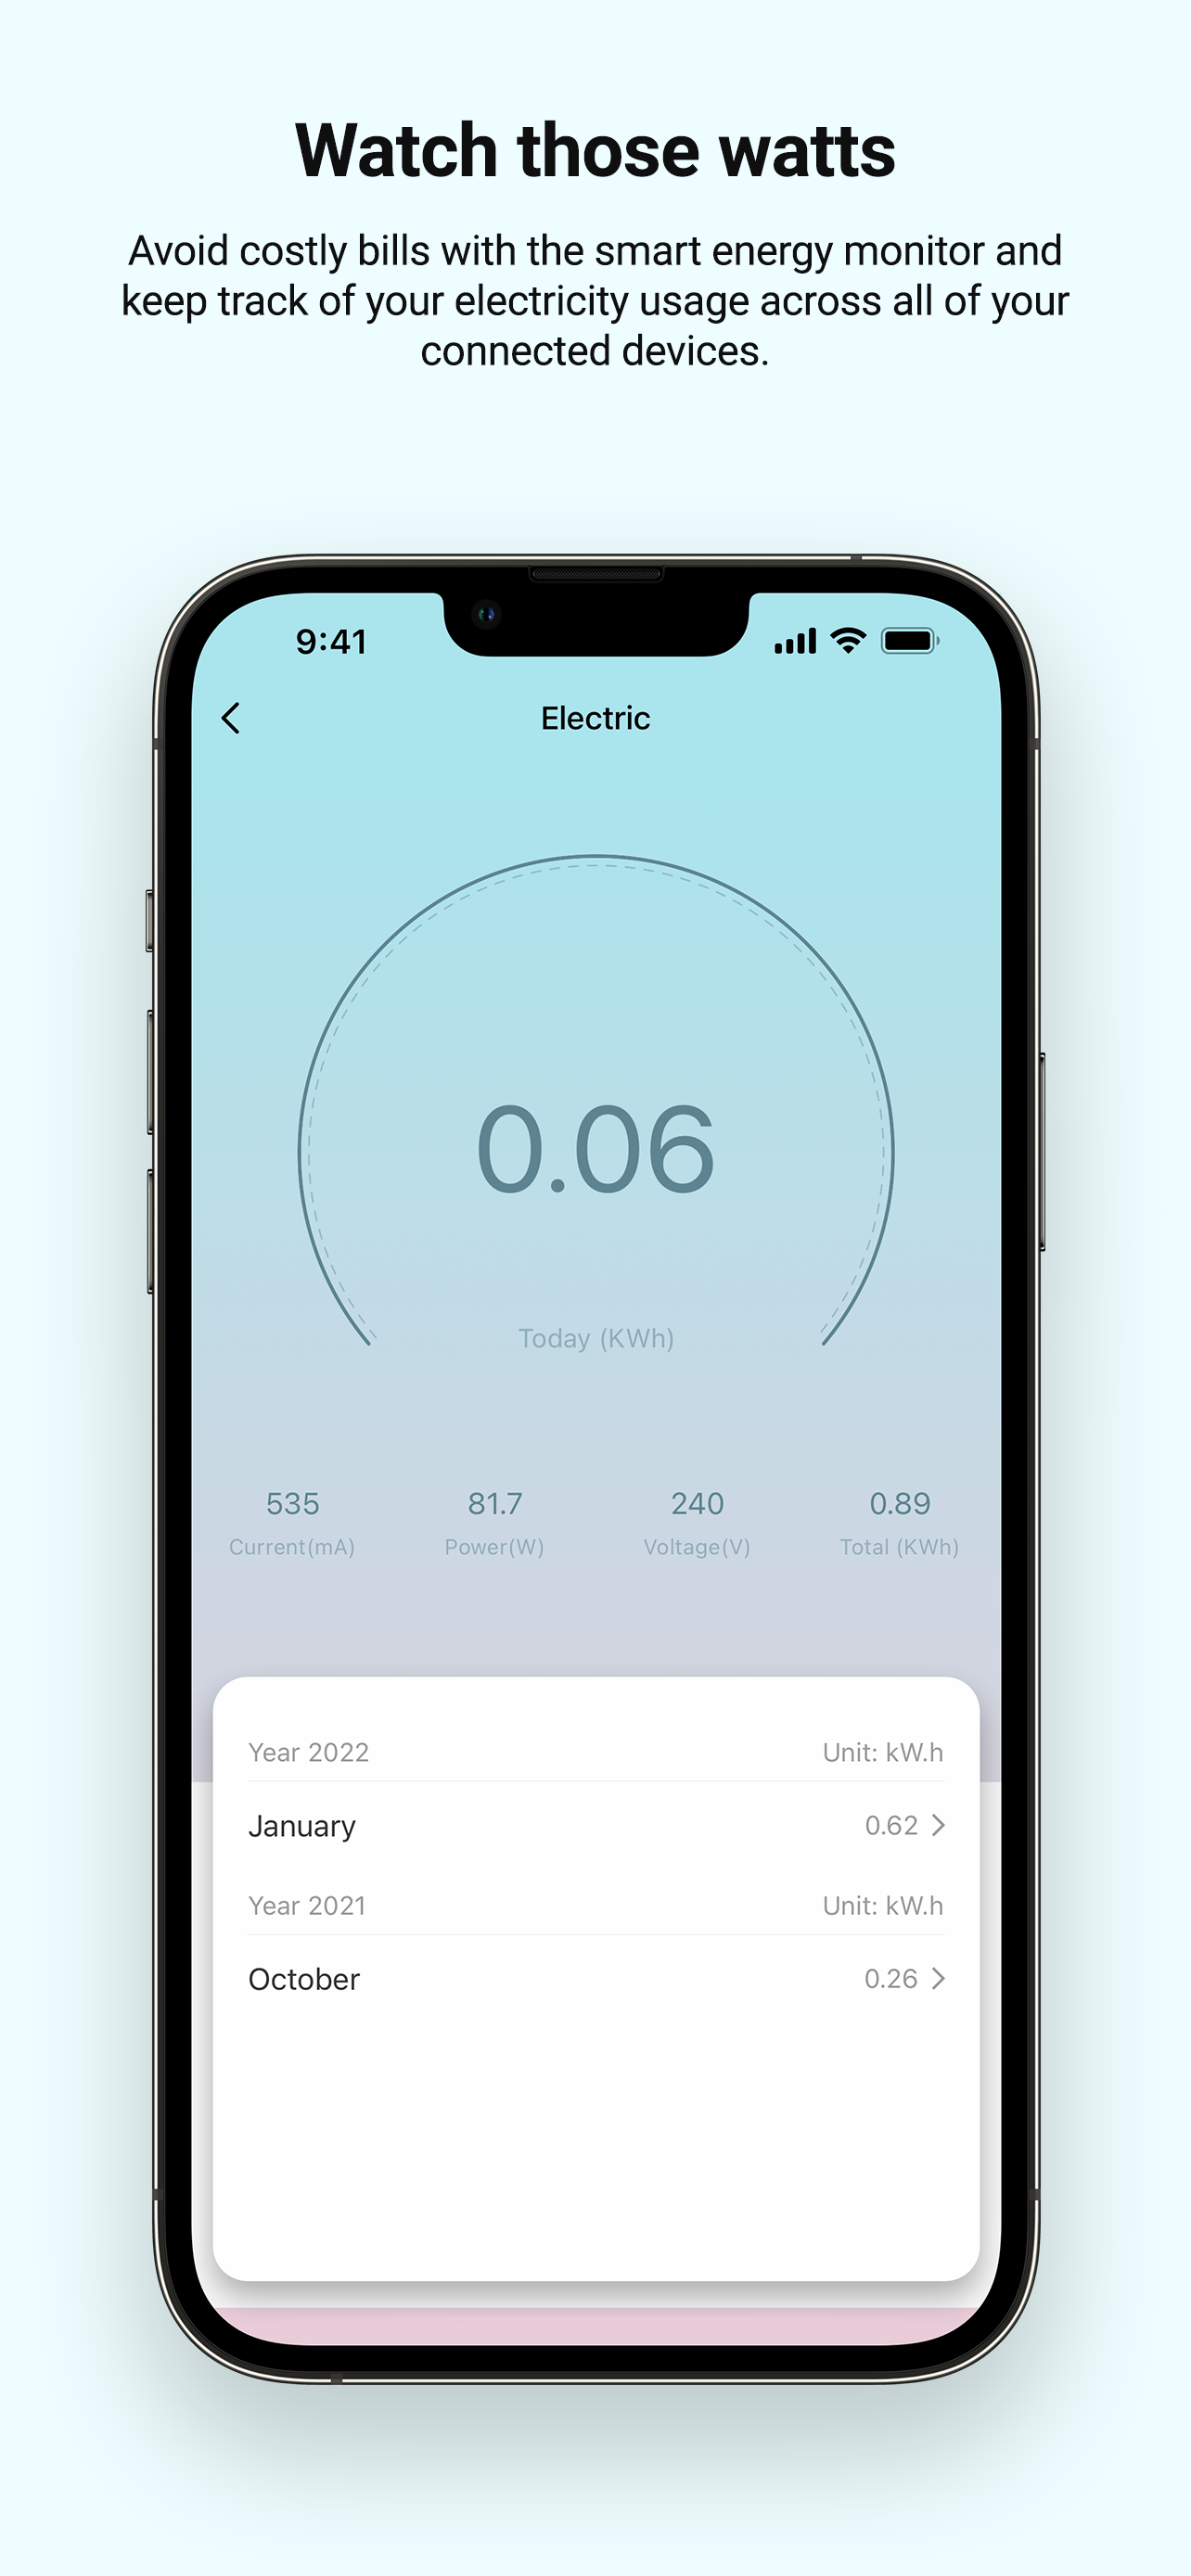
Energy Monitoring
This Smart Plug features a built-in energy monitor, which can be used to check power consumption of plugged-in electrical devices. Set schedules and timers, to help you cut down on bills and stay informed of appliances that might be using just a little too much. Usage can be tracked and managed via the Humax Smart Living App, available for free on iOS and Android devices.
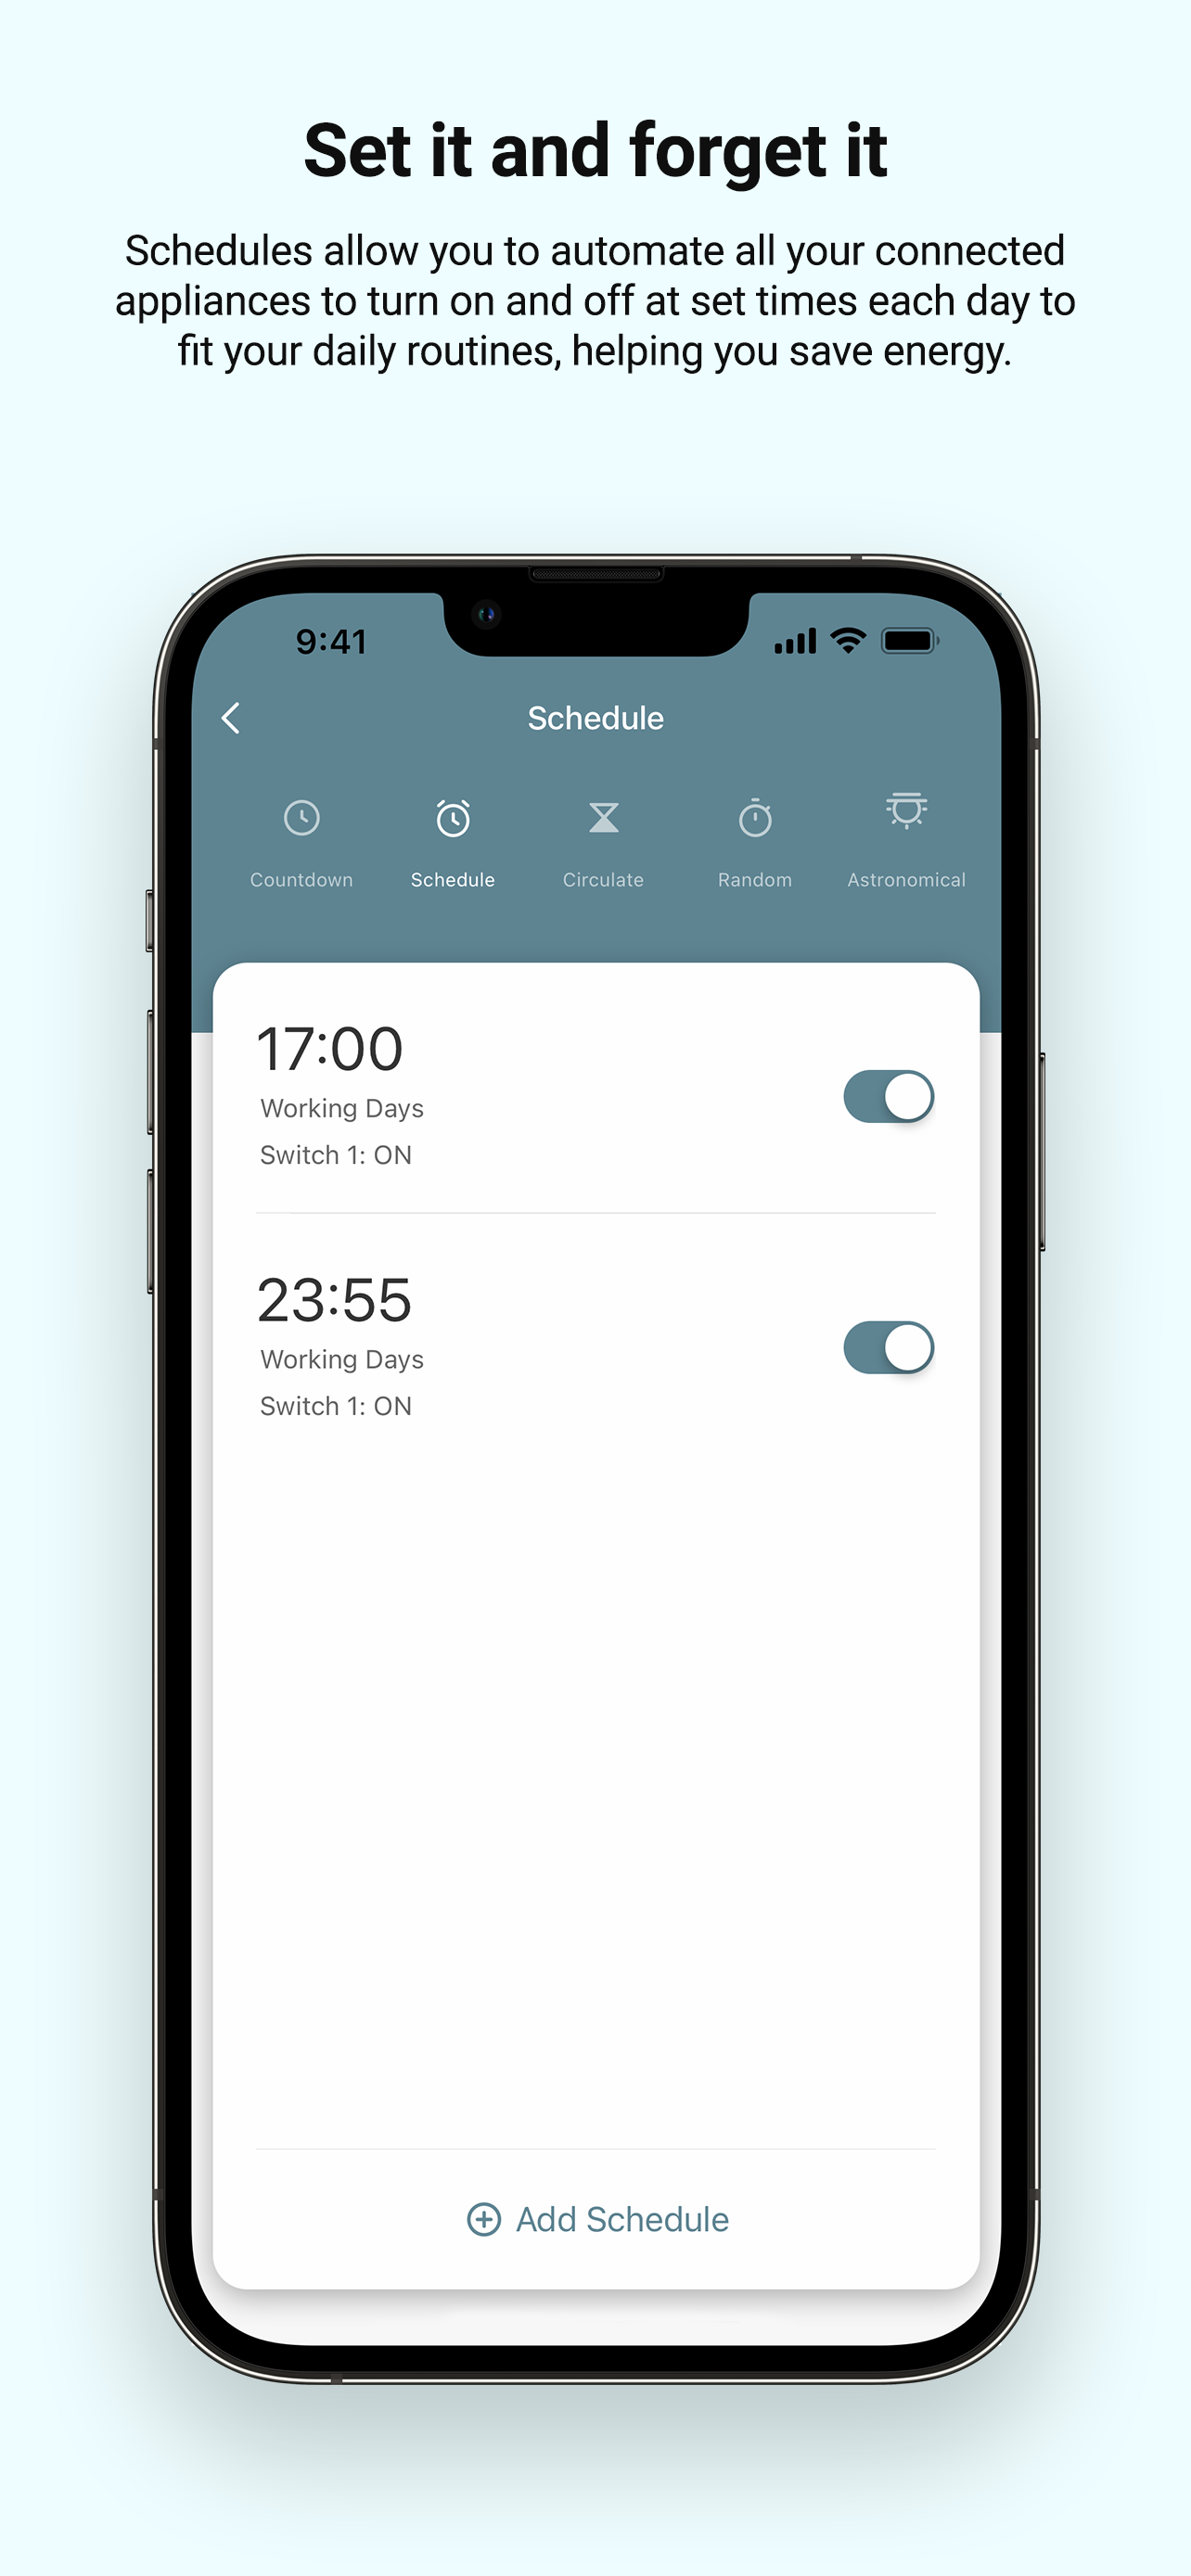
Set schedules
How convenient would it be to be able to set your appliances to turn on and off on their own? Setting schedules allow you to automate your lights, heaters and other vital devices to turn on and off at set times each day to fit your daily routines. Even set timers so you never forget to switch off important appliances whether you’re leaving your home or going to bed. That way you can keep organised and get on with your day.
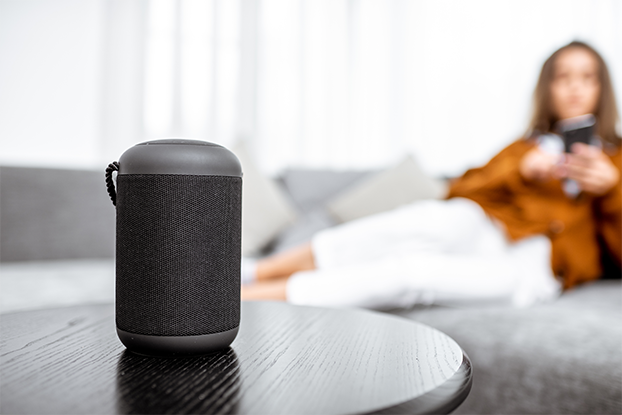
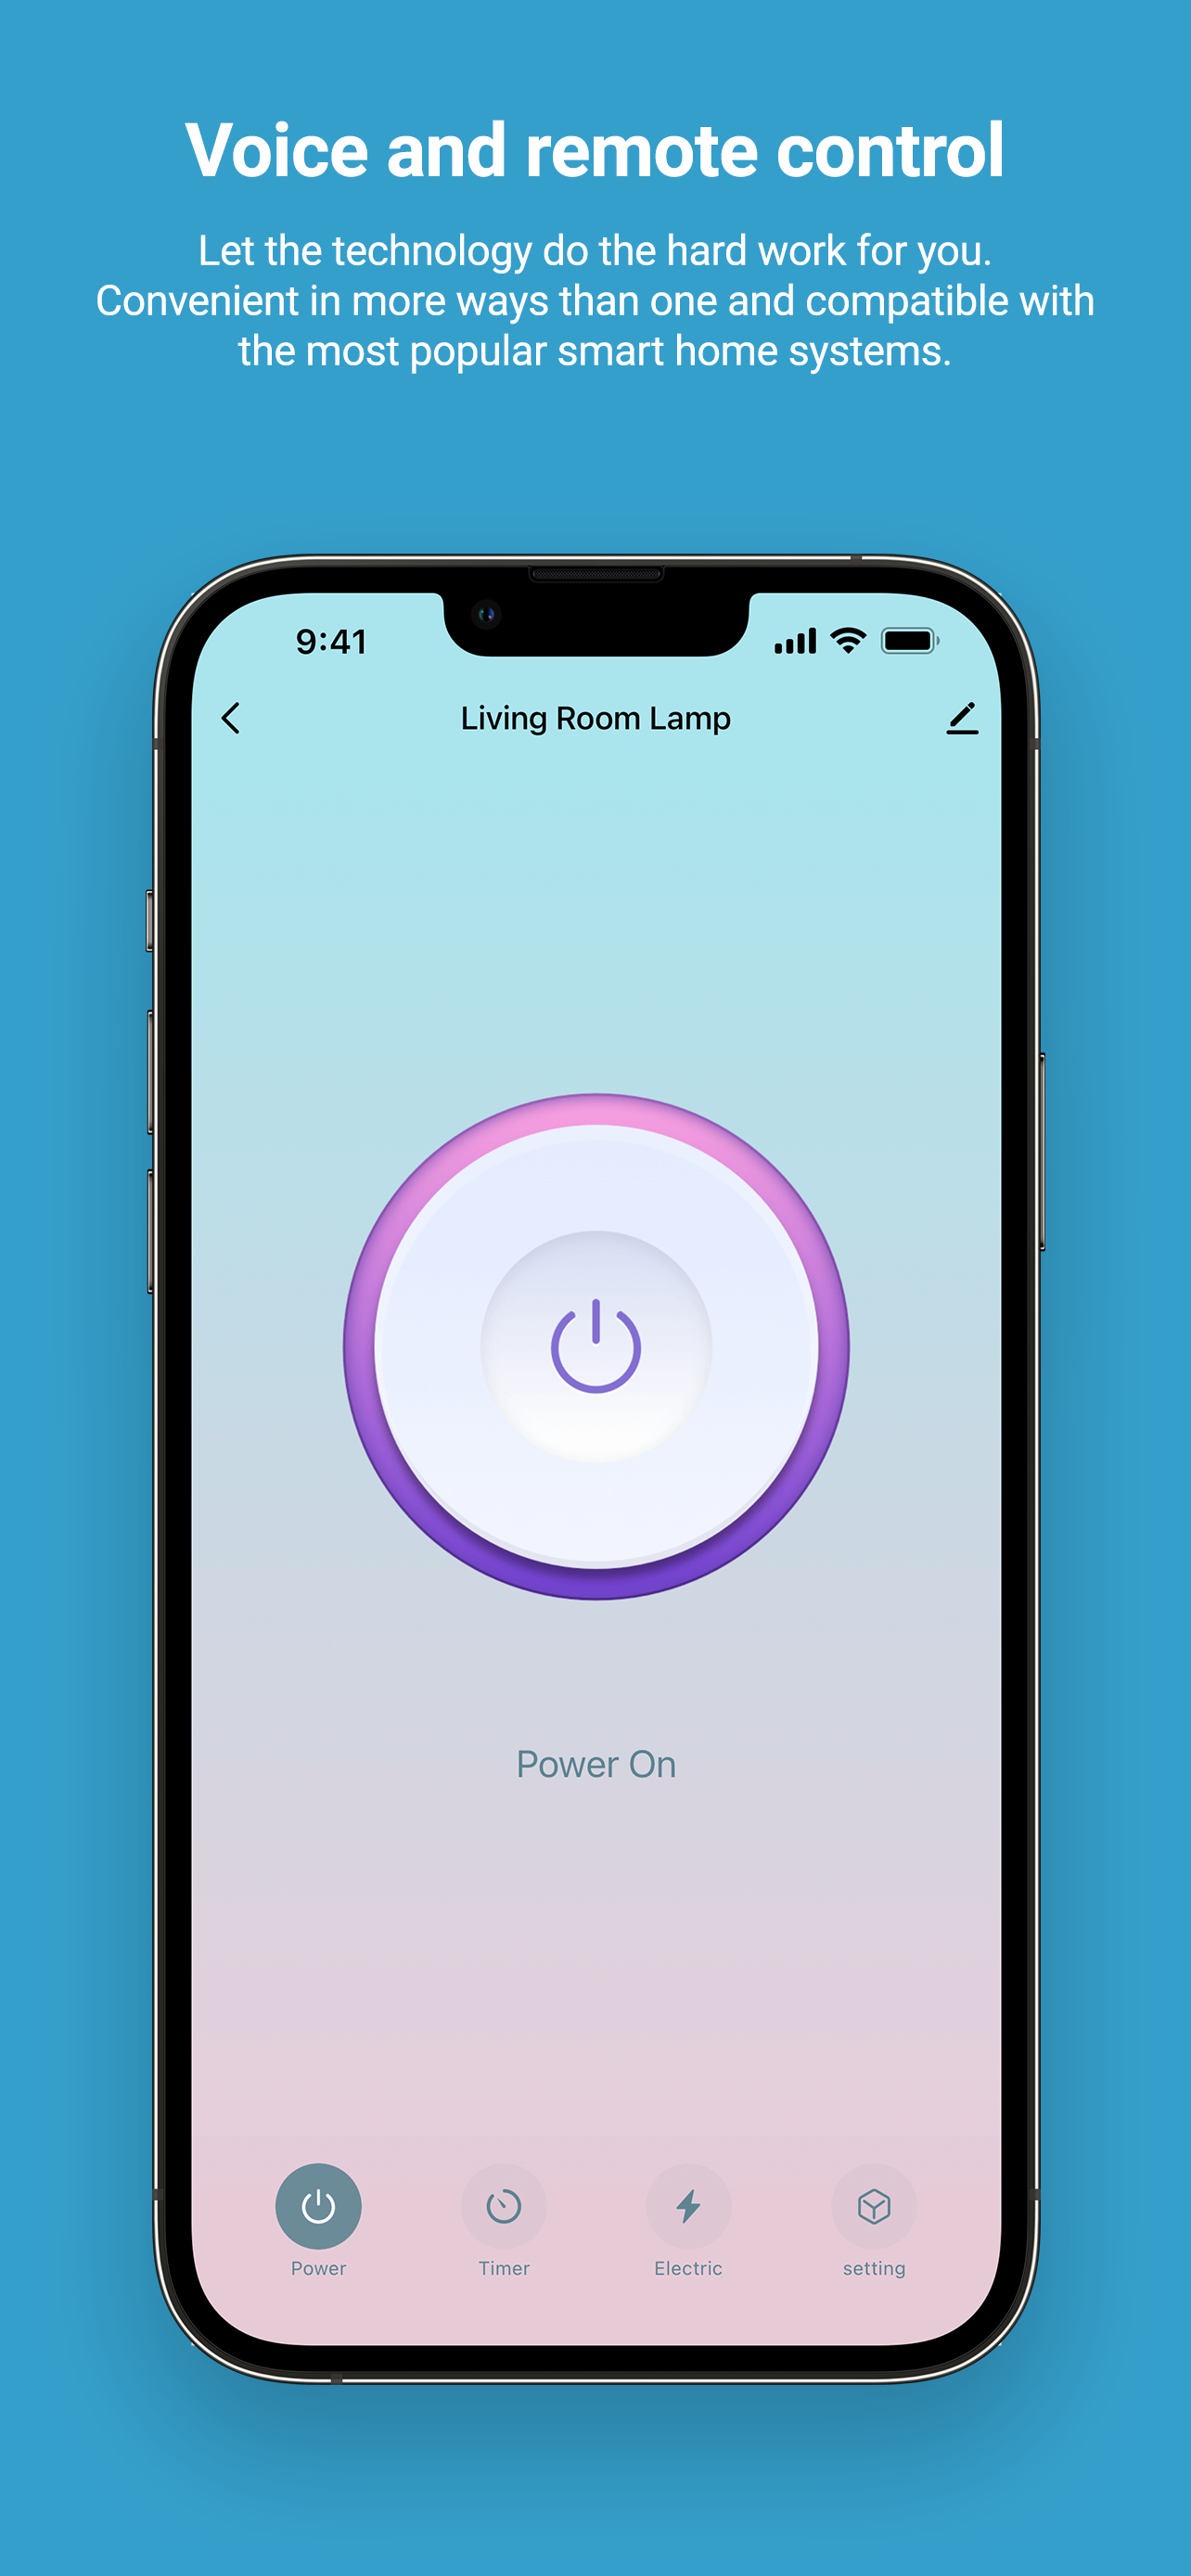
Go hands free using your voice
Let the technology do the hard work and use your voice to control devices from the comfort of your own sofa. Compatible with the Amazon Alexa and Google Assistant (sold separately), control appliances with just your voice by asking things like “turn on the living room lights”. Don’t own a voice assistant? A simple tap on the virtual switch inside the Humax Smart Living app lets you manually control your devices from wherever you are.
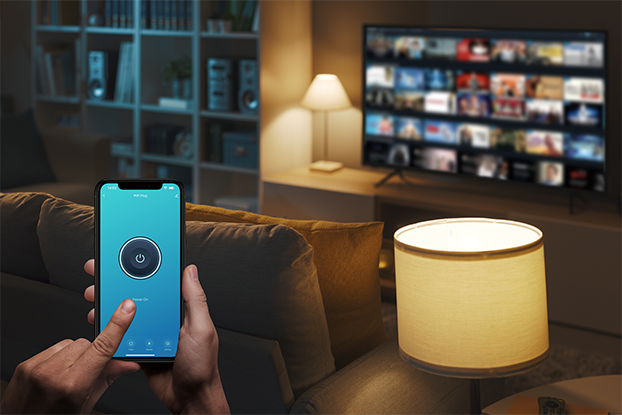
Access on the go
Control your devices no matter where you are, whether you’re running a quick errand or relaxing somewhere across the world (Wi-Fi connection required). Unable to gain access or are somewhere with no Wi-Fi? Share with family and friends so they can safely keep an eye out for you. No hub or subscription required.
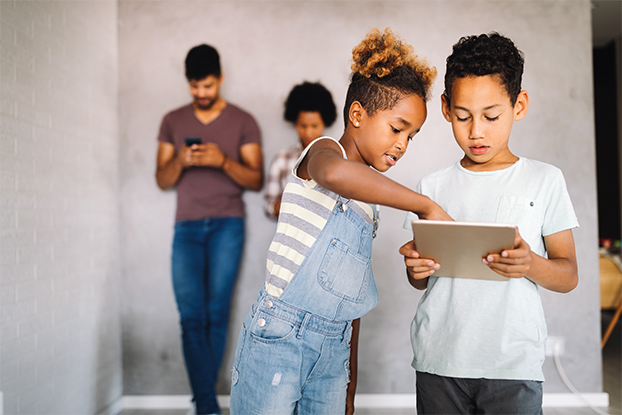
Easily share access to your smart home
By downloading the Humax Smart Living App on your smartphone device* You can take control no matter where you are, even give family and friends quick and easy access to your smart home devices.
Easy Mobile App
To use your Humax Wi-Fi Smart Plug you’ll need a compatible iOS or Android device with mobile app from either Apple App Store (iOS 10 and above) or Google Play Store (Android 9 and above). Access to Wi-Fi network required inside the home and to use on the go, an active internet or data connection.


Peace of Mind
Humax Wi-Fi Smart Plug comes with a 2 Year warranty from the date of purchase.
(To the original purchaser of the product only)
Please keep your original receipts for proof of purchase.
For further information, please contact Humax Customer Support
(Email: uksupport@humax-digital.co.uk / Tel: 0344 318 880)
TECH SPECS
General |
|
|---|---|
| Model | UK 3 Pin |
| Wireless Type | Wi-Fi 2.4GHz |
| Bluetooth | 4.2/BLE |
| Voltage | AC100-240V |
| Rated Current | 16A (Max) |
| Max Load | 2200W |
| Working Temp | -20~50ºC |
| Wi-Fi Frequency | 2.4GHz |
| AC Frequency | 50-60Hz |
| Dimensions | 58x55x55mm |
| EAN | 8809095664324 |
Features |
|
| App (iOS & Android) | Humax Smart Living |
| Voice Assistant | Google Assistant, Amazon Alexa |
| Hub Required | No |
| Remote Access | Yes |
| Schedules | Yes |
| Energy Monitoring | Yes |
| Share Access | Yes |
| Childproof | Sliding safety covers |
Inside the box |
|
| UK Smart Plug | x1 |
| Quick Start Guide | x1 |
FAQ
COULD YOU TELL ME WHETHER YOUR NEW WIFI SMART PLUG IS COMPATIBLE WITH APPLE HOMEKIT
HOW DO I ADD A DEVICE TO THE APP AND CONNECT IT TO THE INTERNET WI-FI
- On the "Home" page, click the "+" icon in the upper right corner to enter the device selection page.
- Select the right category and find the device (Wi-Fi) that needs to be added.
- After clicking, you need to enter the Wi-Fi password (most devices only support 2.4G wireless network).
- Click the button in the upper right corner, you can select the pairing mode of the device (fast blinking is EZ Mode, slow blinking is AP Mode).
- If your indicator is not flashing, it means that you have not reset your device to the status of network configuration, please click "The indicator is not flashing" for help.
- After selecting the indicator status of your device, you will enter the corresponding network distribution process.
(FOR MOST OF ROUTERS) HOW TO CONFIGURE SEPARATE WI-FI SSIDS FOR 2.4 GHZ AND 5 GHZ BANDS
- If your router supports both the 2.4 GHz and 5 GHz bands, but only one Wi-Fi name is displayed on the Wi-Fi search page of your mobile phone, perform these steps:
1. Go to the Wireless page of the router. (The entry address is usually provided on the label attached to the back of the router).
2. Go to the 2.4 GHz setting page, and set the Wi-Fi name (SSID) to XXX—2.4G, where xxx indicates the Wi-Fi name. Save setting.
3. Go to the 5 GHz setting page, and set the Wi-Fi name (SSID) to XXX—5G, where xxx indicates the Wi-Fi name. Save setting. - When the preceding settings are complete, the new Wi-Fi names will Appear on the Wi-Fi settings page of your mobile phone.
- Note: After the Wi-Fi names are changed, you need to reconnect the devices that use this wireless router. The password remains the same if it has not been changed.
HOW MUCH POWER THIS DEVICE WILL USE
I WANT TO KNOW THE APP SIZE ON APP STORE
WHAT IS THE OPERATING VOLTAGE RANGE
HOW TO ADD DEVICE IN AP MODE (ADVANCED)
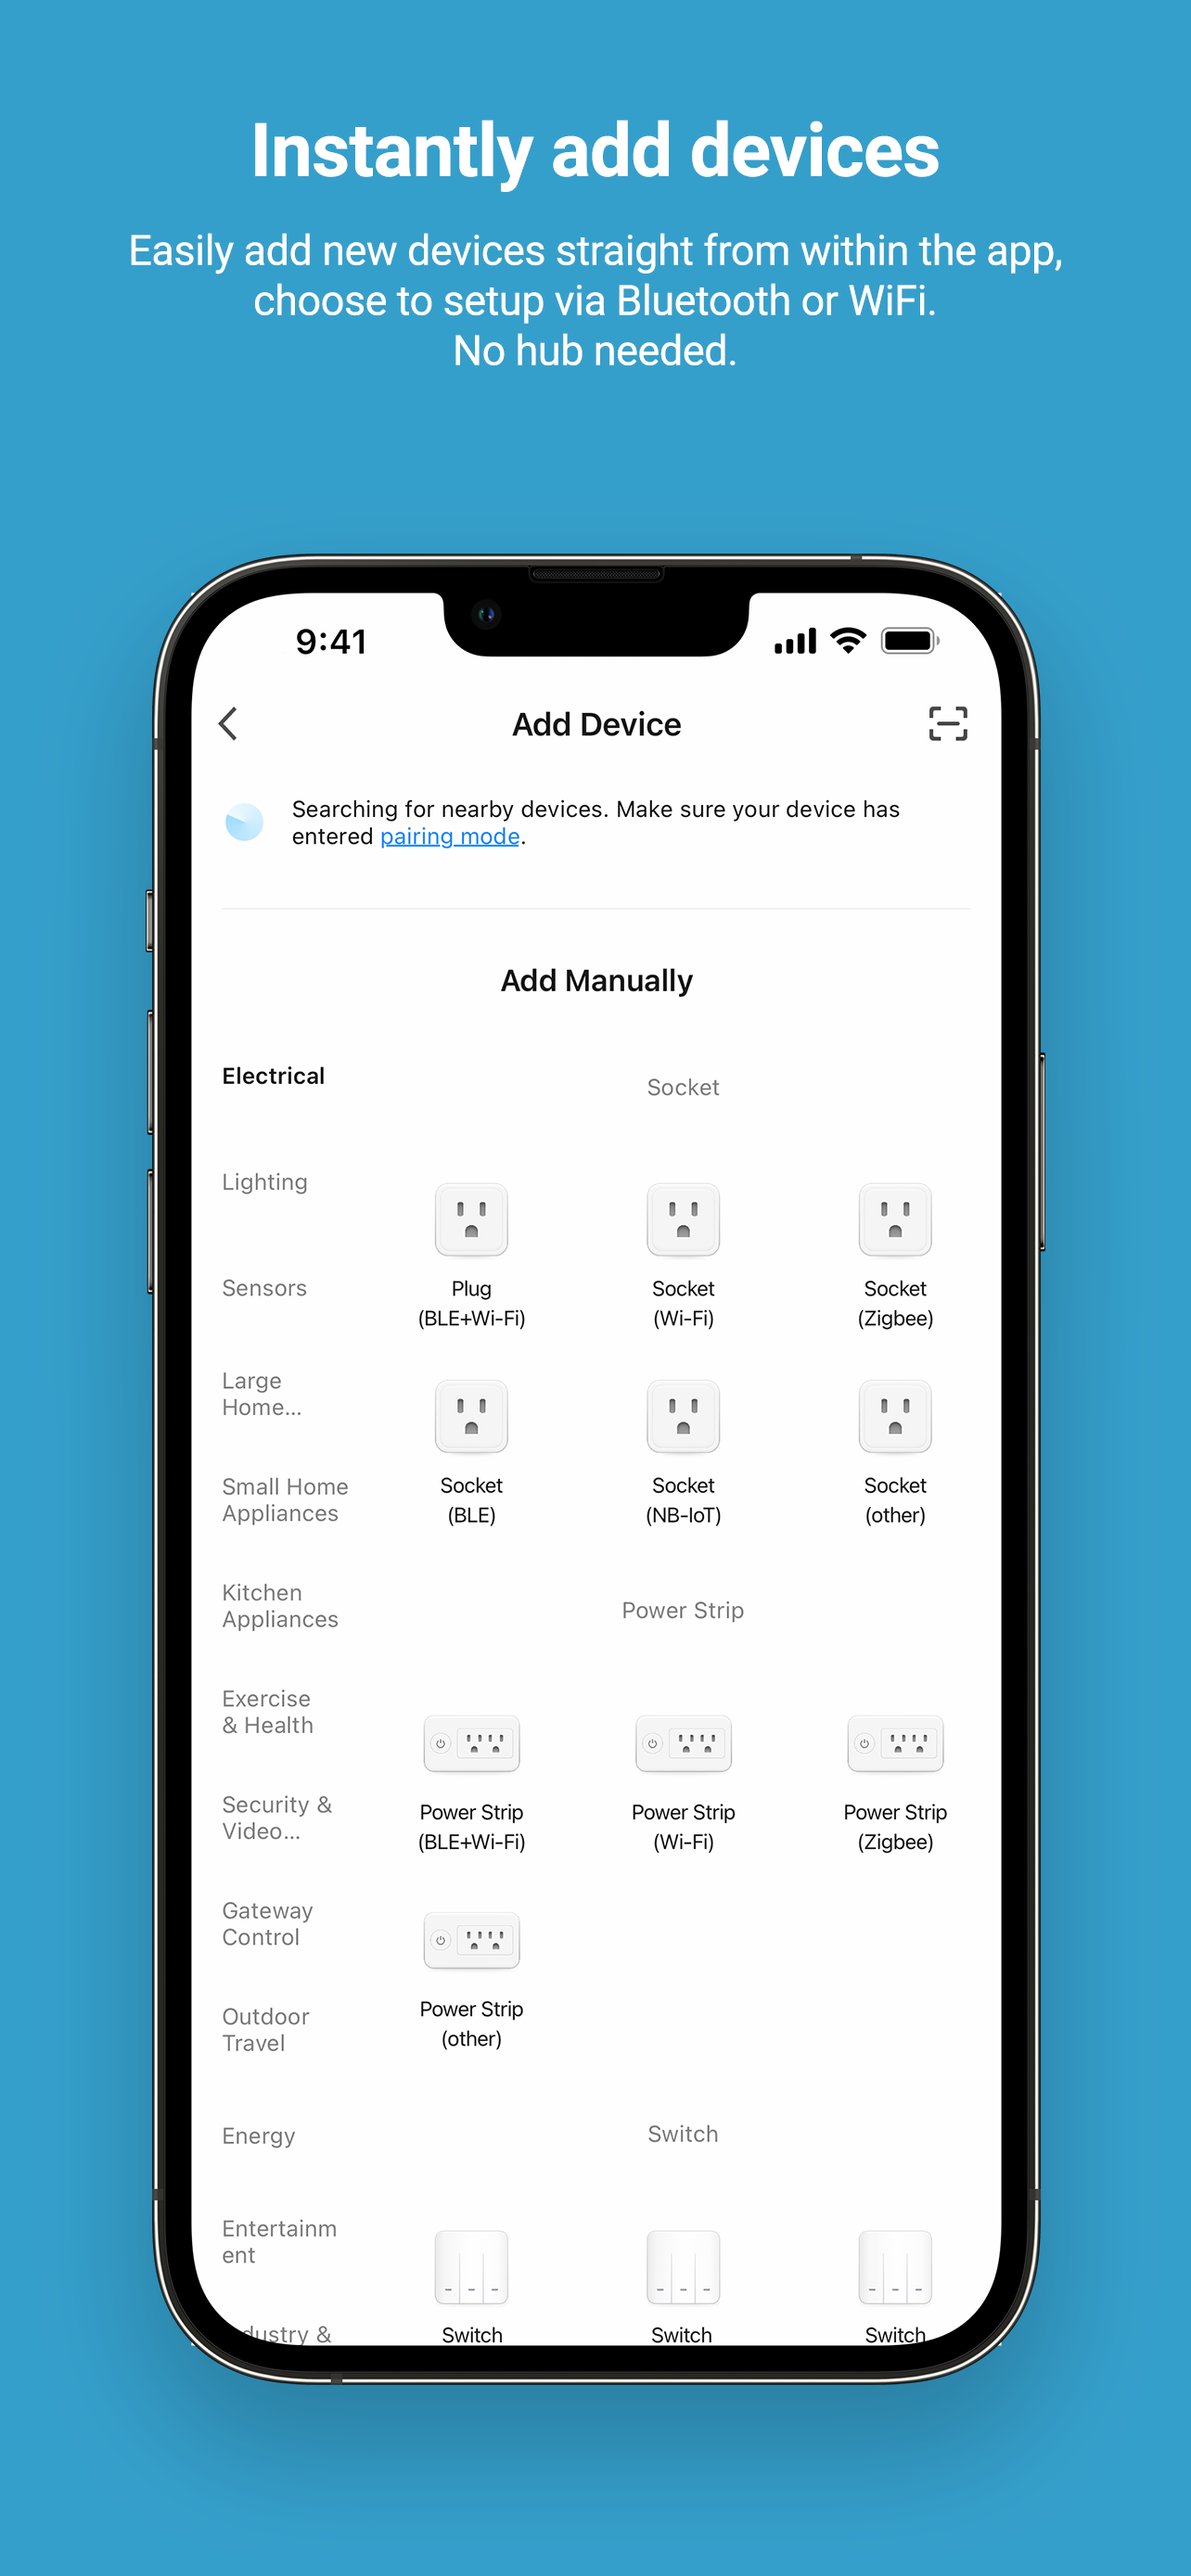
- On your phone/tablet, open the Humax Smart Living app and tap the “+” icon in the top right. Select “Add Device” .
- Under “Add Manually - Socket”, select “Plug(BLE+WiFi)” .
- In the top right, please change mode from default (EZ mode) to AP mode
- Proceed with the on-screen instructions on your phone/tablet.
HOW DO I GET HELP IN CASE OF MY DEVICE GETS NETWORK ERRORS
- You can click the device to enter Device control panel.
- Click Setting button in the upper right corner to enter Settings page.
- Click Check device network option, the network diagnosis will help us solve the problem faster for you, the diagnosis time is about 1 minute ( Only WiFi devices support this function).
Note: If your WiFi device is a low-power device (such as a sensor device or a device that uses a battery), you will not be able to use this function (it will directly display the poor network status), because the low-power device is not connect with internet in the non-triggered state.
WHAT SHOULD I DO WHEN A TIMED TASK IS NOT PERFORMED CORRECTLY
- Ensure that your device is powered on and turned on.
- Ensure that your device has strong and stable Wi-Fi signals and is in the online state in the App.
- After the device is scheduled, the device has not been shut down or reset, because shutting down or resetting the device will interrupt the timing process of the device;
- Ensure that the validity period of the scheduled task is correct. Tap Timing and check whether Repeat covers the required validity period (Monday to Sunday available) of the task.
- If the validity period is correct, delete the timed task and add a new one.
- If it is a Wi-Fi device, the device may be disconnected from the network, so time-related functions are invalid.
- If the timing does not take effect at the time you set, it may be that the time zone of your device is inconsistent with the time zone of your location;
- If the problem is not improved, please restore the device to factory defaults through the App, set the timer task again after adding the device again.
WHAT SHOULD I DO WHEN A SMART TASK (TAP-TO-RUN OR AUTOMATION) RUNS INCORRECTLY
- Ensure that your device is powered on and turned on.
- Ensure that your device is online in a stable and smooth network environment during task execution.
- If your device is online and started but the task runs incorrectly, delete that task and add a new one.
- If the issue persists, remove your device, add it again, and set a new smart task.
- If you are using a Wi-Fi device, check whether your device is offline,please remove your device, add it again.
MY DEVICE NEEDS TO BE RE-CONFIGURED, BUT I DON’T KNOW HOW TO RESET THE DEVICE INTO EZ/AP MODE
- EZ Mode: Firstly, make sure the device is powered off for more than 10 seconds before powering on the device. Then long press the reset button on the device for about 5 seconds. Wait a few moments until the lighting starts blinking rapidly. The device enters the Smart mode. You can connect the network according to the Smart mode as prompted on the App.
- AP Mode: No need to power down the device, but need to keep the lighting device blinking rapidly. Then long press the reset button on the device for about 5 seconds. Wait a few moments until the lighting starts blinking slowly. The device enters the AP mode. You can connect the network according to the AP mode as prompted on the App.
- Cameras and video doorbell devices need to be removed from the App before they can be reset.
- For lighting equipment such as smart bulbs:
- EZ Mode: Firstly, make sure the device is powered off for more than 10 seconds before powering on the device. Then turn on and off three times (on-off-on-off-on) power of the device (2 to 4 seconds between each on and off). Wait a few moments until the lighting starts blinking rapidly. The device enters the Smart mode. You can connect the network according to the Smart mode as prompted on the App.
- AP Mode: No need to power down the device, but need to keep the lighting device blinking rapidly. Then turn on and off three times (on-off-on-off-on) power of the device (2 to 4 seconds between each on and off). Wait a few moments until the lighting starts blinking slowly. The device enters the AP mode. You can connect the network according to the AP mode as prompted on the App.
- For the smart lock, you need to read the manual and enter the corresponding command to make the door lock enter the network distribution mode. Then you can configure the smart door lock according to the network distribution steps of the App lock prompt.
- Note: The device only supports connection to the 2.4g network.
THE DEVICE IS OFTEN OFFLINE, THE DEVICE OR DEVICE INDICATOR KEEPS FLASHING, AND THE DEVICE CANNOT BE CONTROLLED. WHAT SHOULD I DO
- Check whether the router is powered off or disconnected from the network. If so, the router will take some time to recover. Wait for two minutes and then check whether your device is online.
- Check whether the router has been replaced, or the Wi-Fi name or password has been changed. If so, remove your device and then add it to the network again.
- Please confirm whether the device has just updated the firmware. The device will be disconnected from the network when the firmware is updated, and will automatically connect to the network after the update is completed. However, if your network is unstable, it will Appear that you cannot connect after the firmware update is complete. The device needs to be removed and added again.
- The Wi-Fi signal of the device is too poor (for example: there are several walls separated from the router; the device is surrounded by a metal shell or there are metal objects nearby; nearby high-power Appliances such as air conditioners and refrigerators interfere).
- The location of the device is too far away from the router (the indoor environment is more complicated, it is easy to go offline after more than 5 meters; the outdoor environment is empty, it is easy to go offline after more than 10 meters).
- Check whether the firmware is the latest version. To check this on the App, choose Home—Tap device icon—Top right button—Device Update.
- If the device goes offline after a period of use, but after restarting the router or re-networking the device, the device returns to normal. Indicating that the router is overloaded due to long-term high-load use, and you need to replace it with a more powerful one, or reduce the number of devices connected to the router (due to the low bandwidth characteristics of the 2.4 Ghz network, it is easy to go offline when there are more than 5 online devices in 2.4 Ghz, some of which are especially enhanced 2.4 Ghz router can ensure that about 10 devices online).
- You can also use a phone hotspot to check whether it is the problem of network.
- If your device still fails to connect to the network after the preceding steps, place your device in a network environment with strong and stable signals and connect it to the network again.
- Please confirm whether you have removed the device from the App. Some devices will automatically enter the pairing mode after being removed. If the device or device indicator flashes continuously, it means that the device has entered the pairing mode.
- Please confirm whether you have frequently opened and closed the device in a short period of time, or accidentally long-pressed the power button of the device. Because through the above operations, some devices will be reset to the pairing mode, which causes the device or device indicator flashing constantly.
THE INDICATOR LIGHT CHANGED FROM FLASHING TO REGULAR,BUT IT STILL FAILS TO CONNECT
- Please read the product manual carefully before configuring the network, and confirm that our App is the one recommended in the manual. Since smart products of different brands need to be registered on their own cloud servers, it is not possible to configure the network of devices across Apps.
- Please confirm that your router is not provided by ISP (such wireless routers' compatibility is poor and our devices cannot be added), please use such as ASUS, Netgear,TP-LinK and other brands of wireless routers.
- Please make sure your router is a Wi-Fi 5 router, or turn off the Wi-Fi 6/802.11ax mode of the 2.4Ghz Wi-Fi in the Wi-Fi 6 router. Our devices cannot connect to Wi-Fi compliant with the Wi-Fi 6 standard.
- Please confirm that the Wi-Fi password encryption method of your router is WAP2-PSK/WAP, our device cannot support WAP2-CERT and WAP3, and the wireless mode cannot be 11n only.
- Check whether the Wi-Fi password you entered is correct. Check for spaces before and after the Wi-Fi account or password and case sensitivity issues.
- Ensure that broadcasting is enabled for Wi-Fi and is not hidden. Ensure that your device has been added over a Wi-Fi band of 2.4 GHz (Check whether the 2.4 GHz band and 5GHz band share the same Wi-Fi account. If so, we recommend that you configure two accounts and switch to the 2.4 GHz band during network connection) .
- Ensure that the DHCP service is enabled for the router. If not, the IP address will be occupied.
- Check whether your device is powered on and turned on, and make sure that the device is in the right pairing mode, click to view the detailed method.
- If your device is a Wi-Fi device, please use the "Add Manually" method to add it. The "Auto Scan" method may not be able to add your Wi-Fi device.
- If you are using iOS 14 and above, please make sure you have opened the local network permission and wireless data permission of the App.
- If you are informed that the device has been bound to another account during the binding process, please follow the instructions on the posted page to unbind the device and add it again.
- Please make sure that the signal of the network environment where the device is located is strong and stable. Troubleshooting: Download the Internet Speed Test App (make sure the phone is connected to the 2.4Ghz network), place your mobile phone in the same location as the device, and then test the Internet upload and download speed at that location (ensure that the speed is at least: upload ≥ 2 MB/s, download ≥ 2 MB/s or upload ≥ 16 Mbps, download ≥ 16 Mbps), smart camera equipment occupies a large amount of upload bandwidth, and at least 4M of upload bandwidth is required for 1080p image quality (0.5MB/s, 4Mbps), if your device has enabled the cloud storage function, additional 2M upload bandwidth is required, please confirm that your network has sufficient network bandwidth.
- If the network is normal but the device network connection still fails, check whether the router is overloaded. You can disable a device's Wi-Fi feature to reserve the channel for resource reallocation.
- If wireless MAC address filtering is enabled for the router, remove your device from the router's MAC address filtering list to ensure that it is allowed to connect to the network. You can also disable MAC address filtering.
HOW TO CONFIGURE TAP-TO-RUN AND AUTOMATION
- Tap-to-Run : There are three types of Tap-to-Run in the App. You can quickly start smart devices in your home by setting up Tap-to-Run, eliminating the setting step one by one.
- Operating device: Add the smart device you want to execute the Tap-to-Run.
- For example: you can enable all devices in your home without going to enable the device one by one.
- For more details, please go to the FAQ & Feedback on the Humax Smart Living App.
WHY CAN’T MY PHONE RECEIVE APP/DEVICE PUSH, INCOMING CALL, DEVICE ALARM AND DOOR BELL RING
- Verify that your mobile phone allows the App to push messages.
- Please confirm to open the message push settings in the App, open the App, click Me-Message Center, click the button in the upper right,enable notifications. If it is a camera device, you also need to turn on the "motion detection alarm switch".
- Check Notifications Settings, whether Do-Not-Disturb Schedule was on.
- If your mobile phone and device allow the App to push messages but do not receive any messages, check whether the App message center has new message notifications.
- Some Android mobile phone systems will compulsorily judge our App push as marketing information, thereby forcibly turning off push and sound/vibration reminders.
- Due to limitations of some Android systems, some Android phones can only receive up to 24 App push messages. If these push messages are not cleared, the phone will not be able to receive new App push messages.
- Note: If your device is a smart doorbell or smart camera, and you cannot receive the incoming call. This is caused by the restrictions imposed by the mobile phone on our App. You only need to open the app, and you will receive the incoming call normally.
- The power saving function of some Android phones will close the background process of the App, which is also the reason why you cannot receive the App push:
- Please turn off the power saving function in the settings, or add the App to the white list of the power saving function (if there is no white list function, you need to turn off the power saving function).
- Please lock the background process of the App on the background management page of the Android phone, so that the Android system will not automatically close the background process of the App (Android systems with this function can see the "lock" mark on the background process of the App ).
- Please allow the App to start automatically in the system settings of the Android phone, otherwise the Android system will periodically shut down the background process of the unused App, which will also affect the push of App.
HOW DO I SHARE A DEVICE
- To share a single device:
- On the device control page, tap the icon in the upper right corner to access the device settings page.
- Choose Share Devices—Add Devices, enter the phone numbers/E-mail of your family members, and tap Complete.
- There is no permission management in share a single device.
- To share family devices:
- Access the App homepage and choose Me—Family Management.
- Go to the family that needs to be set, click Add Members and add family members and friends who need to share devices to the family, so that all devices in the family can be shared. Single devices do not need to be re-shared in this operation.
- The easiest way to share is to log in using a same account.
- You can set up administrators and members to manage the device permissions.
WHAT SHOULD I DO WHEN FIRMWARE UPGRADE FAILS
- Check whether the network is stable. We recommend that you move your device to a more stable network environment or use a mobile hot spot to upgrade the firmware again.
- If you are upgrading the firmware of a Bluetooth device, check whether the App is always running at the frontend. If you exit the App, the firmware upgrade may fail.
- If you find that your device firmware version is inconsistent with the firmware version of other devices (the same model), and you cannot receive the firmware upgrade pushed by the App, it means that the firmware is still in the testing stage and the device manufacturer has not yet fully pushed it. If you still want to upgrade to the latest firmware, you can submit feedback to us and we will push the latest firmware for you (you need to provide your device's virtual ID).
- If the problem persists, please provide us with your App ID, device ID, and device firmware version number.
- Open our App
- Go to the control panel of the device you want to view and click the button in the upper right corner.
- Click on "Device Information" and you will see the "Virtual ID" of the device.
- Click the "Check Firmware Update" button and you will see the firmware version number of the device.
THE DEVICE IS OFFLINE AFTER A POWER OUTAGE OR NETWORK DISCONNECTION, BUT WHY THE DEVICE CANNOT AUTOMATICALLY RECONNECT TO THE NETWORK AFTER THE NETWORK IS RESTORED
- Please check in the following ways:
- There are too many devices in your home that need to be connected to the Internet, which exceeds the load range of the router (ordinary home routers can only load less than 10 devices), so your device cannot connect back to the network.
- The quality of the network in your home is unstable, so the device cannot connect back to the network in time after the power is restored.
- If the device cannot automatically reconnect to the network after it is offline, you need to reset the device's network status and reconnect to the network.
HOW TO CONNECT TO GOOGLE ASSISTANT
Complete the device's networking configuration according to the prompts in the App. Note: In the App, change the name of the device to an easily identifiable name such as Google Assistant; names are usually in English, such as "bed light".
2. Configure Google Home device (If you have already configured Google Home, you can skip this step. The following instructions are based on the iOS client.)
- Make sure you Google Home device is powered on and connected to a Wi-Fi network.
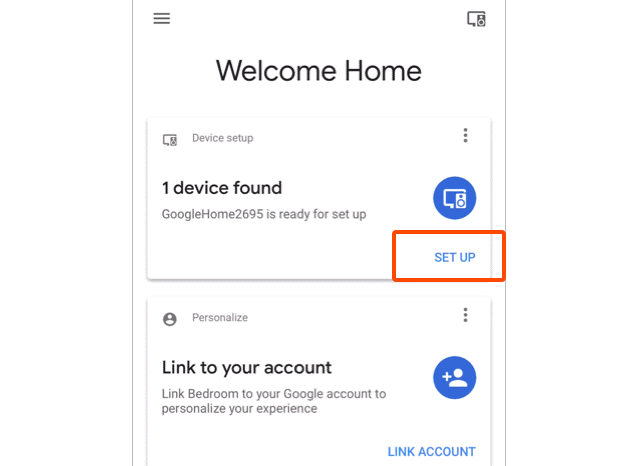
- Open the Google Home App on your phone. After successful login, tap on the menu in the upper left corner and select "SET UP" to set up Google Home.
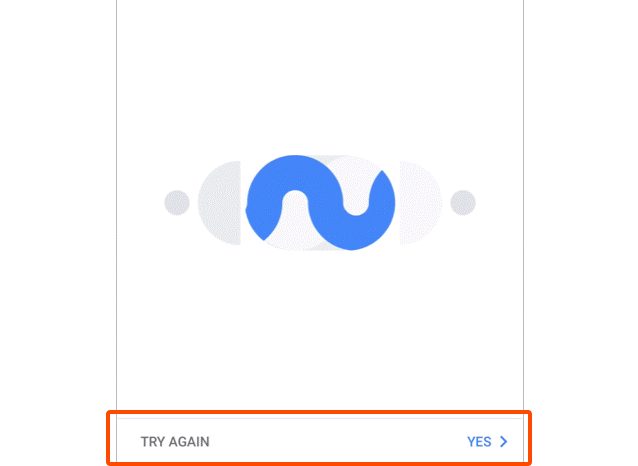
- It will notify you with a sound to ensure that you are connected to the correct device. After you hear the sound, tap "YES" to proceed to the next step.
- You can choose to differentiate the room where Google Home is located from other Google devices. Then, select the Wi-Fi network and language, wait for the system to complete the configuration, and tap "next".
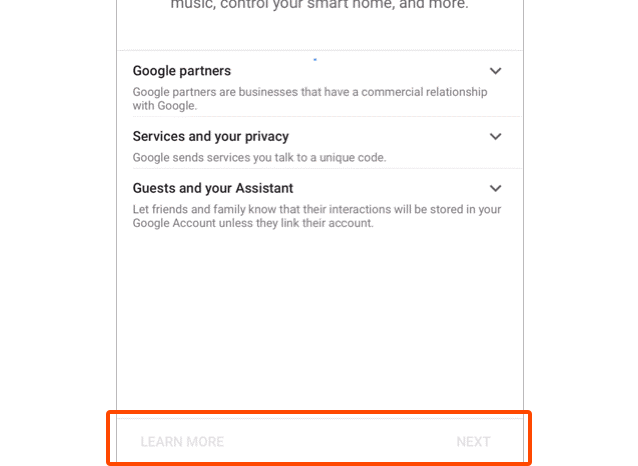
- According to the page prompts, choose whether to agree to the corresponding operation. When the page displays "Google Home is ready," select "continue" to the next step.
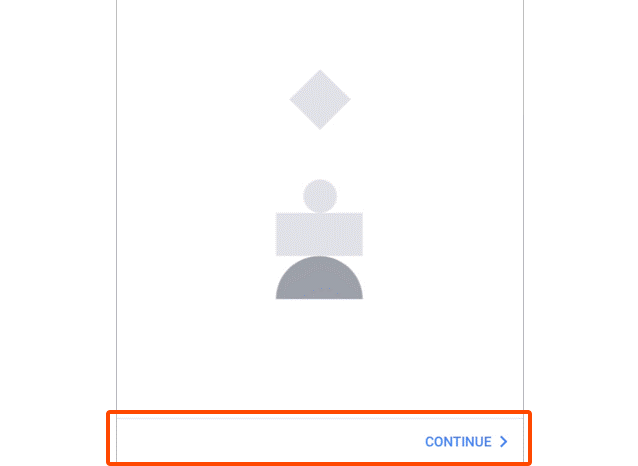
- Next is the voice control guide tutorial. Once you are done listening, tap "FINISH SET UP". At this point, Google Home setup is complete.
On the main page of the Google Home App, tap the sidebar menu in the top left corner and select "Home Control."
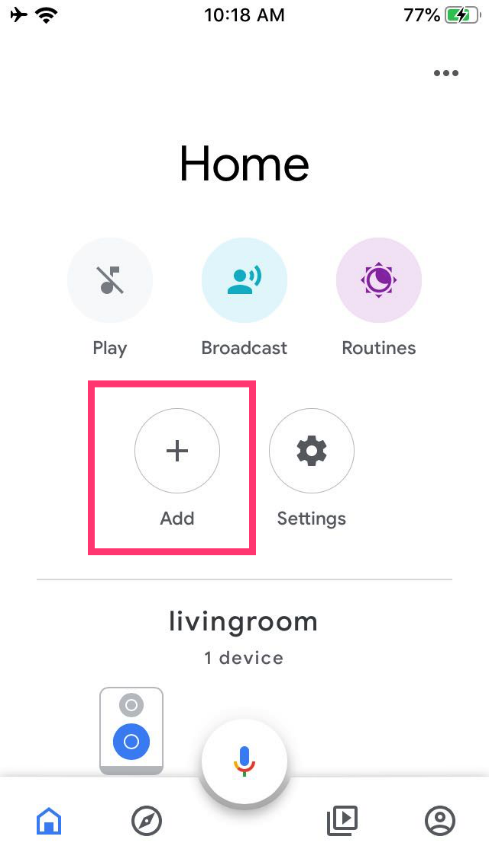
- Then tap the plus sign in the lower right corner and search for "App Name".
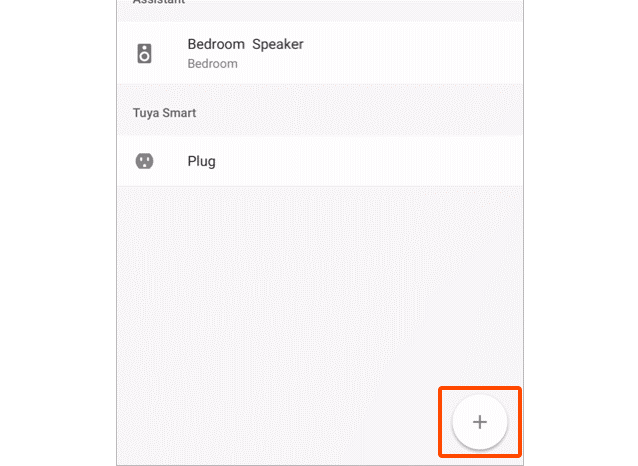
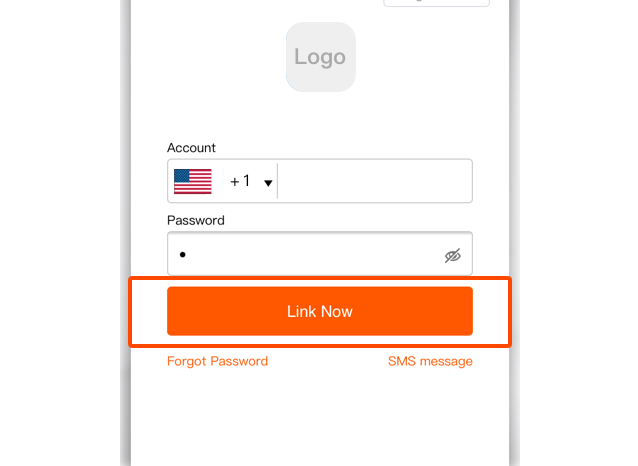
- Find App Name on the list and open it, select the country where your App account is located, enter your App account and a password, and tap "Link Now".

- Enter the App account and password, then tap "Link Now" to link your App account. Choose the room where your device is located, and then the skill will Appear on the Home Control Devices list. Now you can begin your smart home journey.
4. Common commands
Control the device via voice commands, now you can control your smart device with Google Home. You can control your device (such as your bedroom light) with the following commands: Ok Google, turn on/off bedroom light. Ok Google, set bedroom light to 50 percent. Ok Google, brighten bedroom light. Ok Google, set bedroom light to red.
HOW DO I CONNECT TO ALEXA
Note: In the App, change the name of the device to an easily identifiable name such as Alexa; names are usually in English, such as "bed light".
2. Configure the Amazon Echo device
(If you have already configured Amazon Echo, you can skip this step. The following instructions are based on the iOS client.)
- Make sure you Amazon Echo device is powered on and connected to a Wi-Fi network.
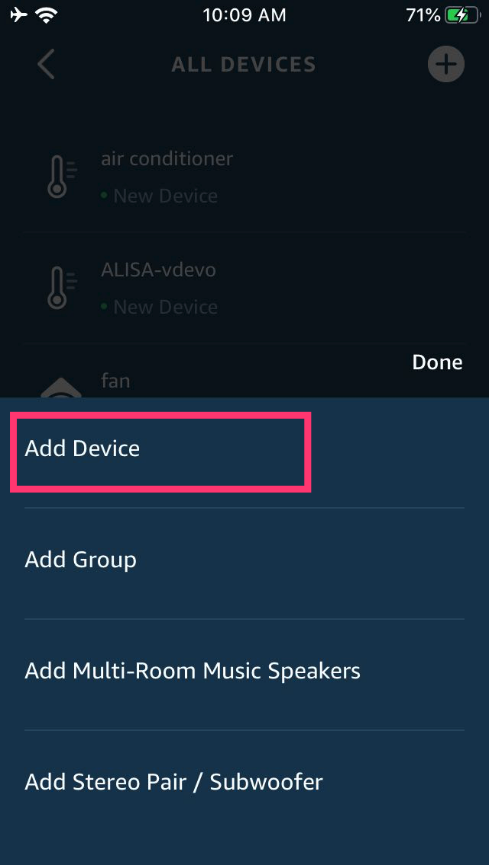
- Open the Alexa App on your phone. After successful login, tap on the menue in the upper left corner of the Home page, select "Settings" and tap "Set Up A New Device" to set up the Amazon Echo.
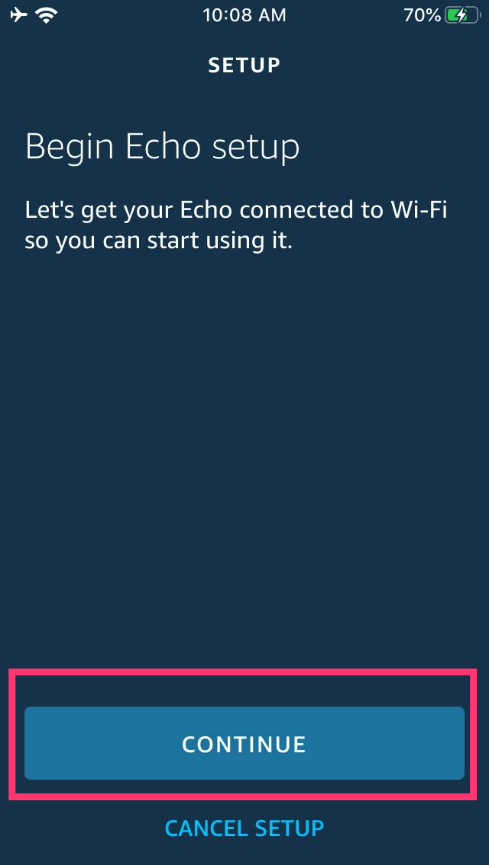
- Choose your Amazon Echo device type and language for connecting. Press and hold the small dot on the device until the light turns yellow. Then tap "Continue" to connect to the hotspot.
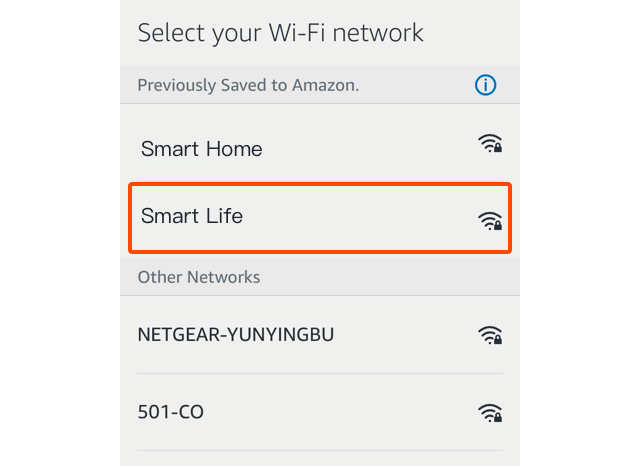
- After connecting to the Amazon Echo hotspot, return to the page. At this point, the connection is successful. Tap "Continue" to proceed to the next step. Choose a Wi-Fi network to connect to. Amazon Echo will take a few minutes to try to connect to the network.
- After the network connection is successful, tap "Continue". An introduction video will Appear. After the video ends, tap "Continue" to jump to the Alexa Home page. You have now completed the Amazon Echo's configuration process.
- Tap on "Skills" in the Alexa App menu.
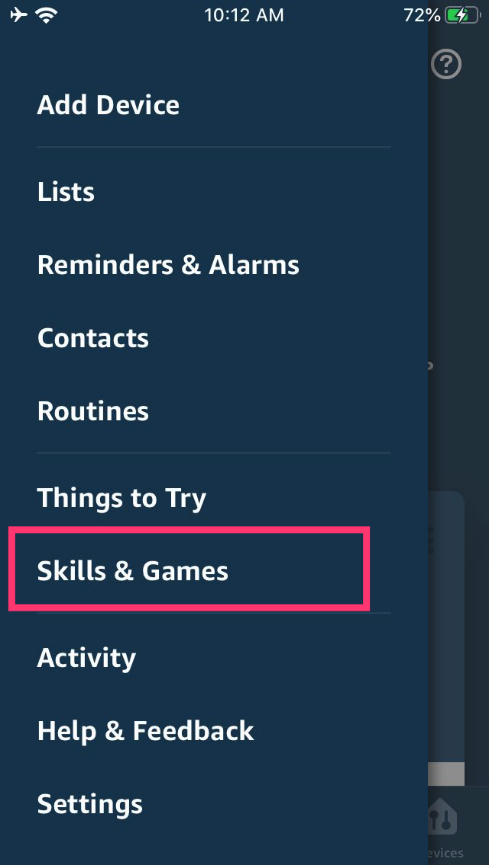
- Then search for "App Name". Tap "Enable" to enable the Skill.
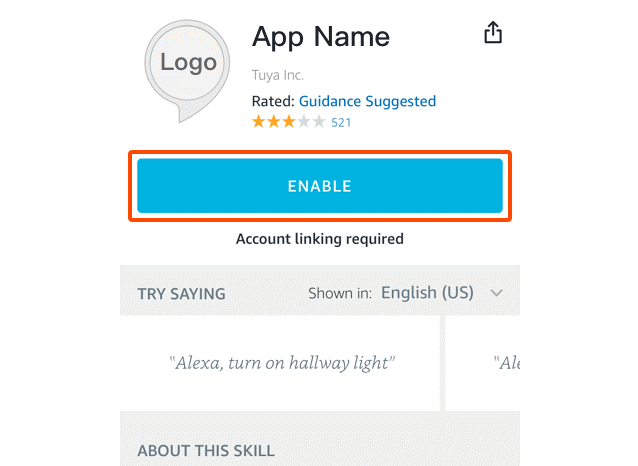
- Enter the App account and password, then tap "Link Now" to link your App account to enable the Skill. Now you can start your smart home journey.
4. Common commands
- Control the device via voice commands, now you can control your smart device with Echo. You can control your device (such as your bedroom light) with the following commands:
- Alexa, turn on/off bedroom light. (Turn on/off the light)
- Alexa, set bedroom light to 50 percent. (Set the light to any brightness)
- Alexa, brighten/dim bedroom light. (Increase/weaken the brightness of the light)
- Alexa, set bedroom light to green. (Adjust the color of the light)